These Are My Photography Settings and Profiles
A bonus post where I share and deconstruct my process
If you enjoyed reading this, feel free to like or share this post so more people can discover it on Substack.
I thought I’d share a bonus post this month that outlines something I get asked about often and that’s photography settings. And it’s probably gonna sound a bit counterintuitive because I’m gonna share my settings and then sh*t on the entire premise of photography settings 😅
Below you’ll find the 5 profiles saved to my camera, each with 7 key variables adjusted to give me a head start in a specific environment. But these are not treated as a holy recipe destined for greatness. I’ll constantly change one or more of these variables on-the-fly as I look to create a look.
I should also mention that I shoot in RAW+JPG where the latter just give me a preview of what the image will look like. I’ll move between different JPG looks for different environments to help develop the image. As always, if you have any specific questions, let me know in the comments.
STREET 6400
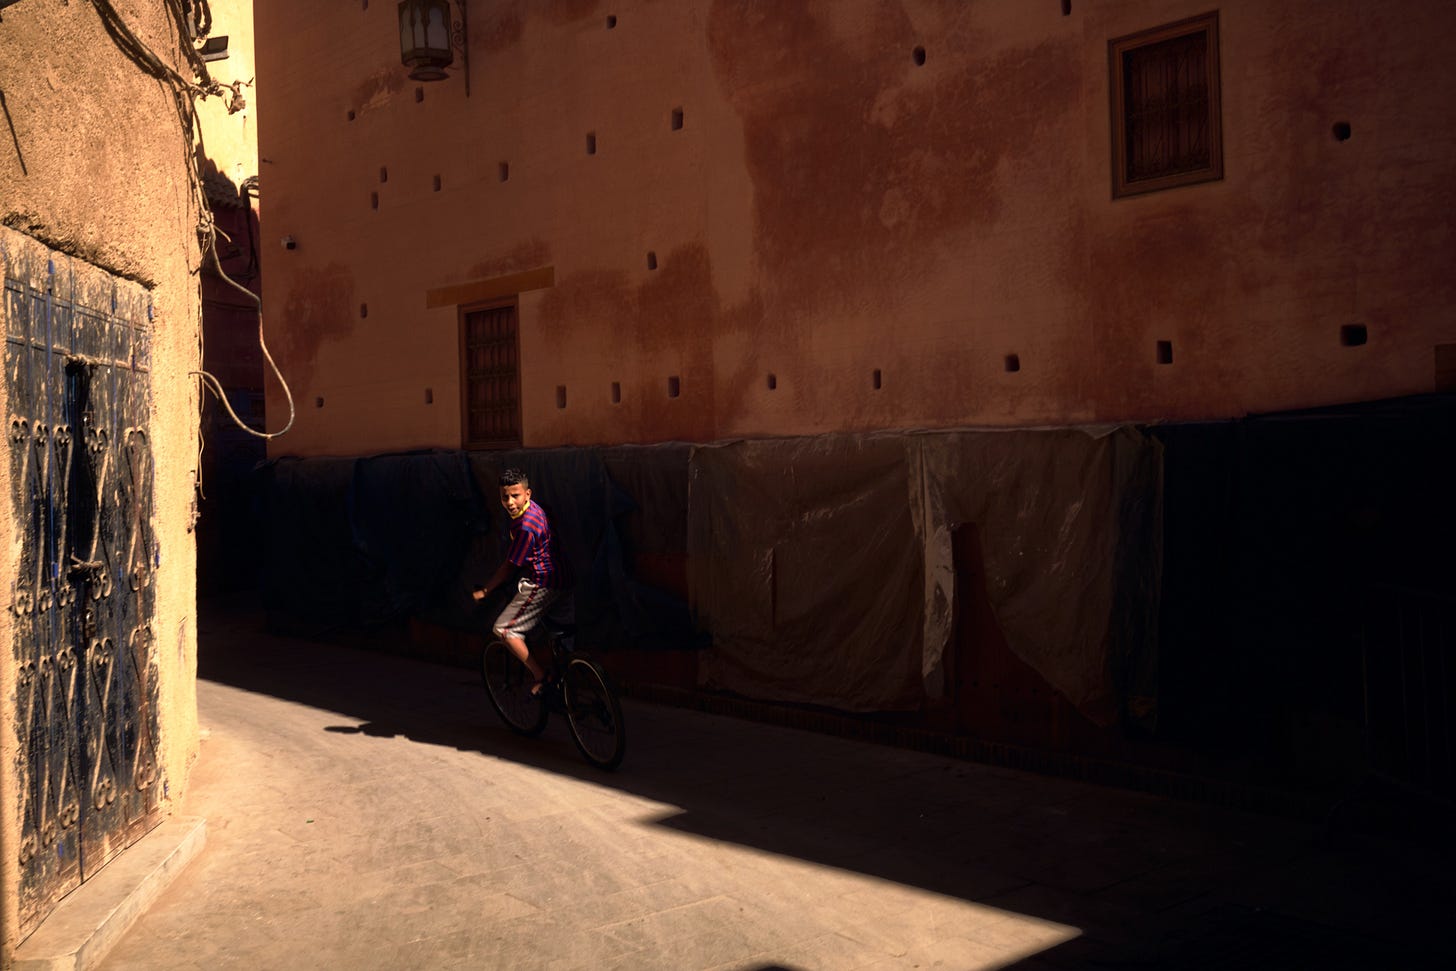
Used in environments with available but changing light. Something I’ll rely on when I’m moving through an environment and the strength of shadows could vary from point to point.
Aperture: Starts at F5.6 and adjusted based on scene
Shutter Speed: 1/250 or faster
ISO: Auto ISO up to 6400
White Balance: Daylight
Exposure Compensation: -1
Exposure Metering: Center-weighted
JPG Profile: High Contrast B&W
BRIGHT 400
When the sun is shining bright, this is the profile I’ll start with.
Aperture: Starts at F8.0 and adjusted based on scene
Shutter Speed: 1/1000
ISO: Auto ISO up to 400
White Balance: Daylight
Exposure Compensation: -1
Exposure Metering: Highlight-weighted
JPG Profile: Standard Colour
NIGHT 12500
When the sun is gone, this is my go-to starting point. Here I’m looking to highlight a a very specific subject or moment, and embrace the grain.
Aperture: Typically F1.4 with moderate changes
Shutter Speed: 1/60 or faster
ISO: Auto ISO up to 12,500
White Balance: Daylight
Exposure Compensation: -1/3
Exposure Metering: Spot
JPG Profile: Natural B&W
STUDIO 64
When I’m in the studio working with off-camera lighting, this is the profile I’ll lean on. The goal is to capture as much detail and dynamic range as possible to have the cleanest starting point for editing.
Aperture: Selected based on the shot list for the project
Shutter Speed: 1/180
ISO: Locked at ISO 64
White Balance: Based on shot list and creative
Exposure Compensation: -1/3
Exposure Metering: Center-weighted
JPG Profile: Natural Colour
FLASH 800
When I’m using a flash in the field—on or off-camera—and it’s more of a street setting where I’m capturing life as it happens, this is the profile I’ll start with and adjust more liberally to create different looks.
Aperture: Starts at F8.0 and adjusted based on scene
Shutter Speed: 1/180
ISO: Locked at ISO 800 or lower
White Balance: Daylight
Exposure Compensation: -1
Exposure Metering: Multi-field
JPG Profile: High Contrast B&W
Here’s The Catch…
One of the biggest things that holds us back in the creative world is we spend a lot of time looking for a recipe instead of learning how to cook. Instead of learning how to work with the ingredients that could be in front of our camera, we look for a universal system that we can apply to all ingredients. Which doesn’t quite make sense.
We’ve all been there at some point in our journey. You have a trip or a walk or a project that you wanna photograph, and you jump online to find the “best” settings. Why? Because there’s stakes on the line, you can’t afford to f*ck it up, and you want the “best” results.
And while this is a great way to learn, I feel like this is probably the worst way to learn and practice photography.
We’re creatures of habit and our brain is constantly looking to make sense of the world around us. This can bleed into the photography journey when you’re getting started, where you want to attribute a specific recipe to a look. Now this could be useful for some controlled environments, the reality is that in most photography environments we don’t have much control.
Let me make this a little more personal. I won’t know when I’ll create my next favourite photograph until after it happens. I won’t know the lighting beforehand, I won’t know who the subject may be, I may not even know what part of the world it’ll happen in.
So with that in mind, it makes no sense to rely on one or two sets of photography settings for my work. What I think is far more valuable is to build a theory around my work and use profiles as a compass to start the work.
Or to phrase it as a question: what if I could be ready to create a great image in any situation?
Two Systems for Photography Settings
There’s really just two systems to my theory around street photography and the first involves relegating much of the creative control to your camera. But let’s take a step back and set the scene a bit.
Fundamentally, we have three variables in our camera to create a great image: aperture, shutter speed, and ISO. Changing each one will give us a different creative result so this is where I start the conversation for my first system.
What is the creative result I’m hoping for? If I’m covering a lot of ground, I’ll start with the overall light around me and find an aperture setting for the look I’m going for.
If the light is clear and super bright, I know I can take advantage of a narrow aperture to give a generous amount of focus to my image and land these vignettes that showcase the subject and scene. So I’ll set my aperture to F8 or F11.
Now, given these conditions, I know I can take advantage of this light to use a fast shutter speed like 1/1000 to really freeze the moment and then with ISO, give it a narrow range to guess. In an instance like this, I’ll set the ceiling to 400 where most of the time it’ll land 100, but if the shadows come in a bit more, the camera can quickly compensate to get a better result.
So to recap, I look at the light I have, find an aperture that can give me a creative result that leans into the light, set a shutter speed that complements this aperture and lighting, and then define an ISO range that’ll give me a healthy amount of room to explore.
Changing The Look
Now what if I want a different result? What if I want to focus on an intimate portrait where the subject is the primary focus and the environment melts away, like a cascade of colours that just support our protagonist?
This means we’ll have to work against our environment a little bit to get the creative result we want. Creatively, let’s say I open my aperture to F1.4 or F1.8, I’ll lock my ISO to the lowest possible setting—64 on the M11—and crank my shutter speed to 4,000 or 5,000th of a second. However, this may not even be enough. In which case I’ll need an ND filter to cut the light even further.
This is the chef adapting to the ingredients as opposed to following a recipe. We look at the conditions we are given, visualize the type of image we want to create, and then lock the variables to set us up for success.
After years of practice, I developed the 5 profiles that I start cooking with but almost always, I’m changing items as I go to get just the right look for the moment.
The Colour Zone Focus System
The next system in my theory around street photography is something I use when I know I’m going to be in one space for a bit of time and it’s actually borrowed from Joel Meyerowitz. If you’ve been reading for a while, you know I’ve spoken about him and his masterclass a few times. One of the most valuable sections in his class is around his colour zone focus system.
I’ve seen a lot people spin their “version” this, but Joel was the first I’ve heard talk about it and do so in an incredibly succinct way, where you know he’s been doing it for decades.
The gist of it is simple, you find yourself at an intersection or crosswalk and you have a flood of people around you. Based on the lighting situation, you’re going to use your hand to lock in all your settings, once per hour. How does this work?
Well, look at where you’re standing and where your subject is going to be and based on that, hold your hand out in front with your palm facing you. As you move your palm in the light, you can see the folds and creases create shadows. The trick is to find a position that has an equal balance of light and shadow, and then take a metering with your camera.
So, let’s say I hold my hand up and with an aperture of F4.0—this sort of “cinematic” spot—the shutter speed lands at 1/250 and the ISO at 640. These are the settings that I’d lock for the next hour, where I hold my spot and just capture as many scenes as I can.
As the light changes, or if I move my positioning to the light, I’d just hold my hand out and get a new reading. I can also change the settings to get a different creative result. So if I wanted more of the scene in focus, I can narrow the aperture, increase the ISO and adjust the shutter speed as needed.
This system is a little more involved but it’s another way of letting your environment lead your approach. We’re not trying to come in with fixed recipe. We’re not trying to fit a square peg in a round hole. We’re adapting to world around us.
Just The Beginning
Here’s the kicker… these two systems are just the beginning. What gets lost so often is that we can leverage shutter speed and ISO for different creative results.
Tighten up your aperture and drop your shutter speed in lower light situations to introduce motion and more of a dream-like feel to your work. Or expand your ISO range beyond level of comfort to introduce texture with grain, and a new dimension to your work.
Sometimes we might approach creative work in a finite way, almost as if we’re trying to stop the learning. I believe this is the wrong approach. As your environment changes, as you find yourself in changing situations, think about the different kinds of images you can create to flesh out your menu.
Another reality is that we will seldom have the perfect situations like I mentioned here. The sun, the people, the world… it all comes through differently depending on where you find yourself standing with your camera. With that in mind, the best thing we can do for ourselves is learn how to adapt our technology regardless of what situation we’re in. Being able to instinctively move a few buttons and dials to get the shot we need.
I’ll say it again, don’t memorize recipes, learn how to cook.
August Contest: Last, Last Call!
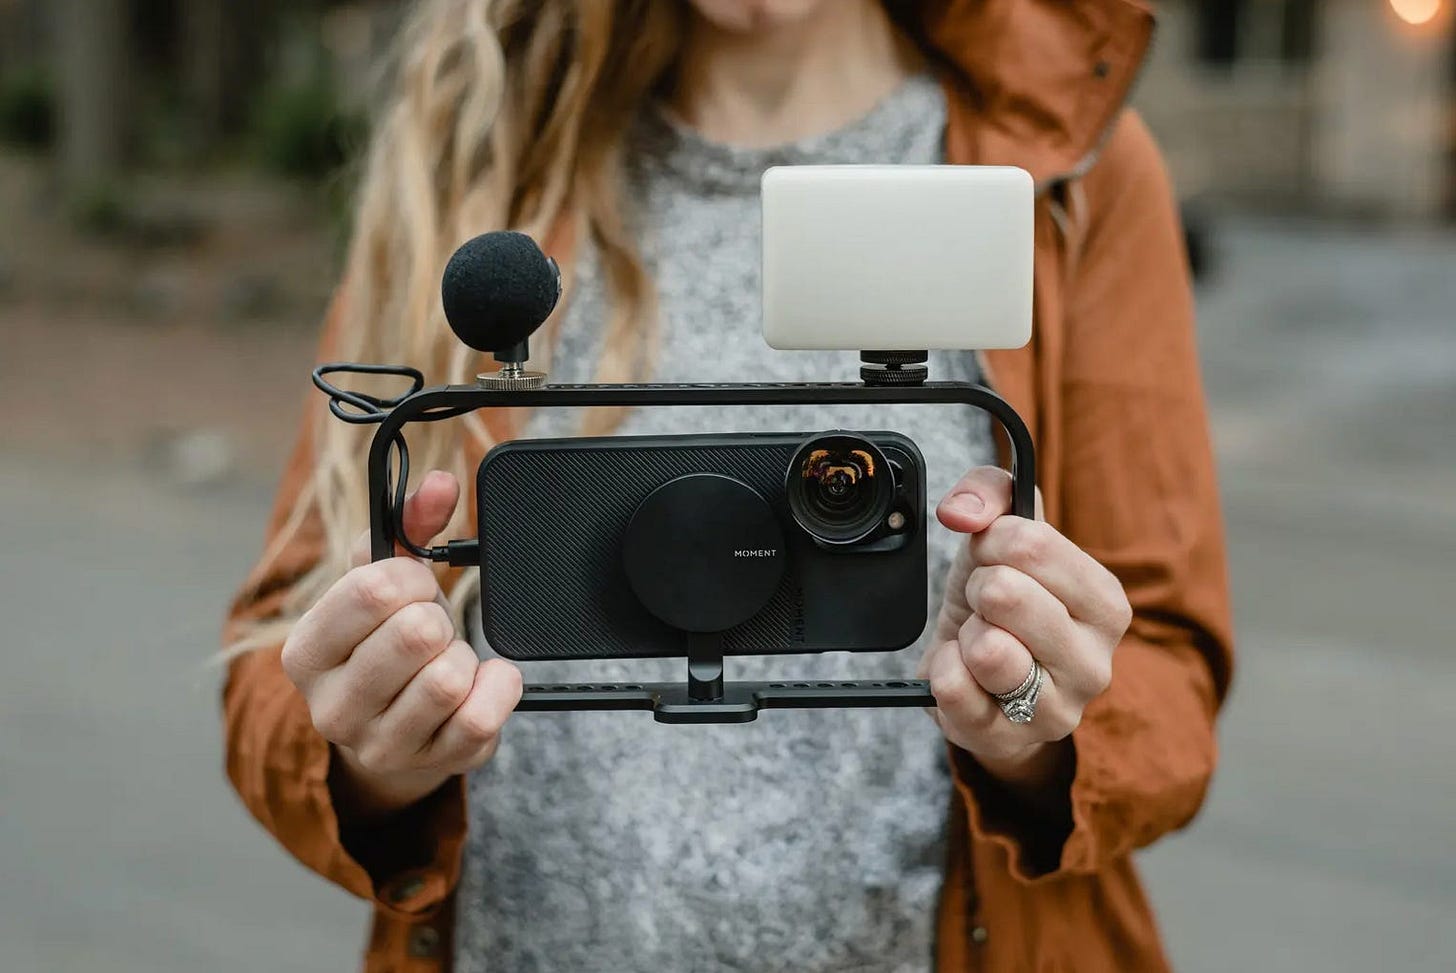
For August, I’ll be giving away the MagSafe Filmmaker Kit from Moment. This is a cool little package that can help you capture great footage with your iPhone, even if it is to just level up your social content.
How am I picking the winner? All you have to do to enter is Like, Comment, or Restack this post. That’s it. Oh, and if you do all three, you get a bonus entry. As with every contest, I’ll be randomly picking one person, confirming they meet the requirements and then contacting them directly before announcing the winner publicly.
Once again, this contest is void where prohibited by law. Good luck!
My thanks to the team at Moment! Not only for this contest but for being the longest supporter of my work online. They’re a lean team of passionate creators that truly believe in supporting other creators on their journey. Whether it’s a new camera, lens, workshop, or just some great articles, visit ShopMoment.com today.
Previous Favourites
What’s Next?
Next week, I’m heading to Utah for the first time as I kick off a busy travel season. I had some posts pre-planned for the upcoming months but I may go back and replace them with some fresh stories as I knock down a few of these trips. There’s one trip specifically that I can’t talk about just yet, but I think it’ll make for a great story. Anyway, that’s enough for this week.
See ya next time!
GB
Thanks for reading Church & Street. Be sure to leave any thoughts or questions in the comments and if you really enjoyed this post, share it with your circle ✊🏾


Thanks for sharing this Gajan. The Joel Meyerowitz tip is especially interesting to myself. I find that most of the time when shooting street, I tend to use aperture priority. During daylight, I'll keep my shutter above 200, with my iso as low as possible. Other than that, it's all aperture priority. Like you mention in the post, I try not to let the settings get in the way of the shot. It's all art at the end of the day.
Utah is stunning, youre gonna love it