Practicing Film Photography in the Arctic
The cameras, the film, the mistakes, and why I had to do it
Moving outside of your comfort zone to spark growth is something that I talk about often on this newsletter and that’s because it’s something that I live. In my eyes, there should always be a little bit of an unknown with the next big project; something that might even induce a little fear. And when I was mapping out the deliverables for my Arctic voyage, this was the primary reason I wanted to make time to shoot film.
The main reason I made the effort to safely pack and transport 15 rolls of film and two additional camera bodies on this adventure was to have an additional medium to challenge myself creatively. I don’t see a lot of modern film photography from the Arctic and the conditions were gonna fluctuate like crazy. So, I wanted to lean into these obstacles to see what kind of stories I’d be able to create with through analog photography.
Another reason I wanted to bring film was to capture an alternative perspective. Since most of the digital work was gonna be shot through a telephoto perspective, I wanted the film shots to feel closer to a human perspective. Something that was wider and had this clear visual contrast to the digital work.
Finally, I wanted to create some images that felt more lived in. Though you can emulate it pretty well, there’s no replicating the chemical response of film through digital. I wanted to take the time and effort to go through this organic process and have results that felt more human to me. It’s not about whether they’re better or worse than the digital images. It’s simply about what they meant to me.
The Cameras
For this trip, I wanted to bring two film bodies so that I could shoot 120 and 135 film. While the Nikon F5 would’ve been a safer choice for 35mm film, I went with the Leica M6 because of its much smaller profile. And though I had more experience with my Hasselblad 500 C/M, I had to bring the new-to-me, Mamiya 7. I’ve always wanted a travel friendly 120 film camera, and well, this is as close as I’m gonna get to that reality.
For lenses, I had the Leica Summilux 50mm F1.4 for the 135 film and the Mamiya 80mm F4.0 for 120 film. The latter would deliver a full-frame equivalent perspective of a 40mm, which would keep all the film shots in a close visual range.
The Film
There’s three film stocks that I generally rotate between with Portra being the most popular. For this trip, I wanted to lean on Portra for the bulk of the shots but experiment in this new environment with some lesser used film in my collection. The kit included:
120 Kodak Portra 400: safe.
135 Kodak Portra 800: safer than safe.
135 Fujifilm Velvia 100: positive and high contrast environments? Buckle up.
135 Ilford Ortho Plus 80: what are we even doing here?
So, now that you know the reasons why I went through the effort of shooting film on this expedition along with the cameras and film I packed, let me share some of my favourite frames.
The Images
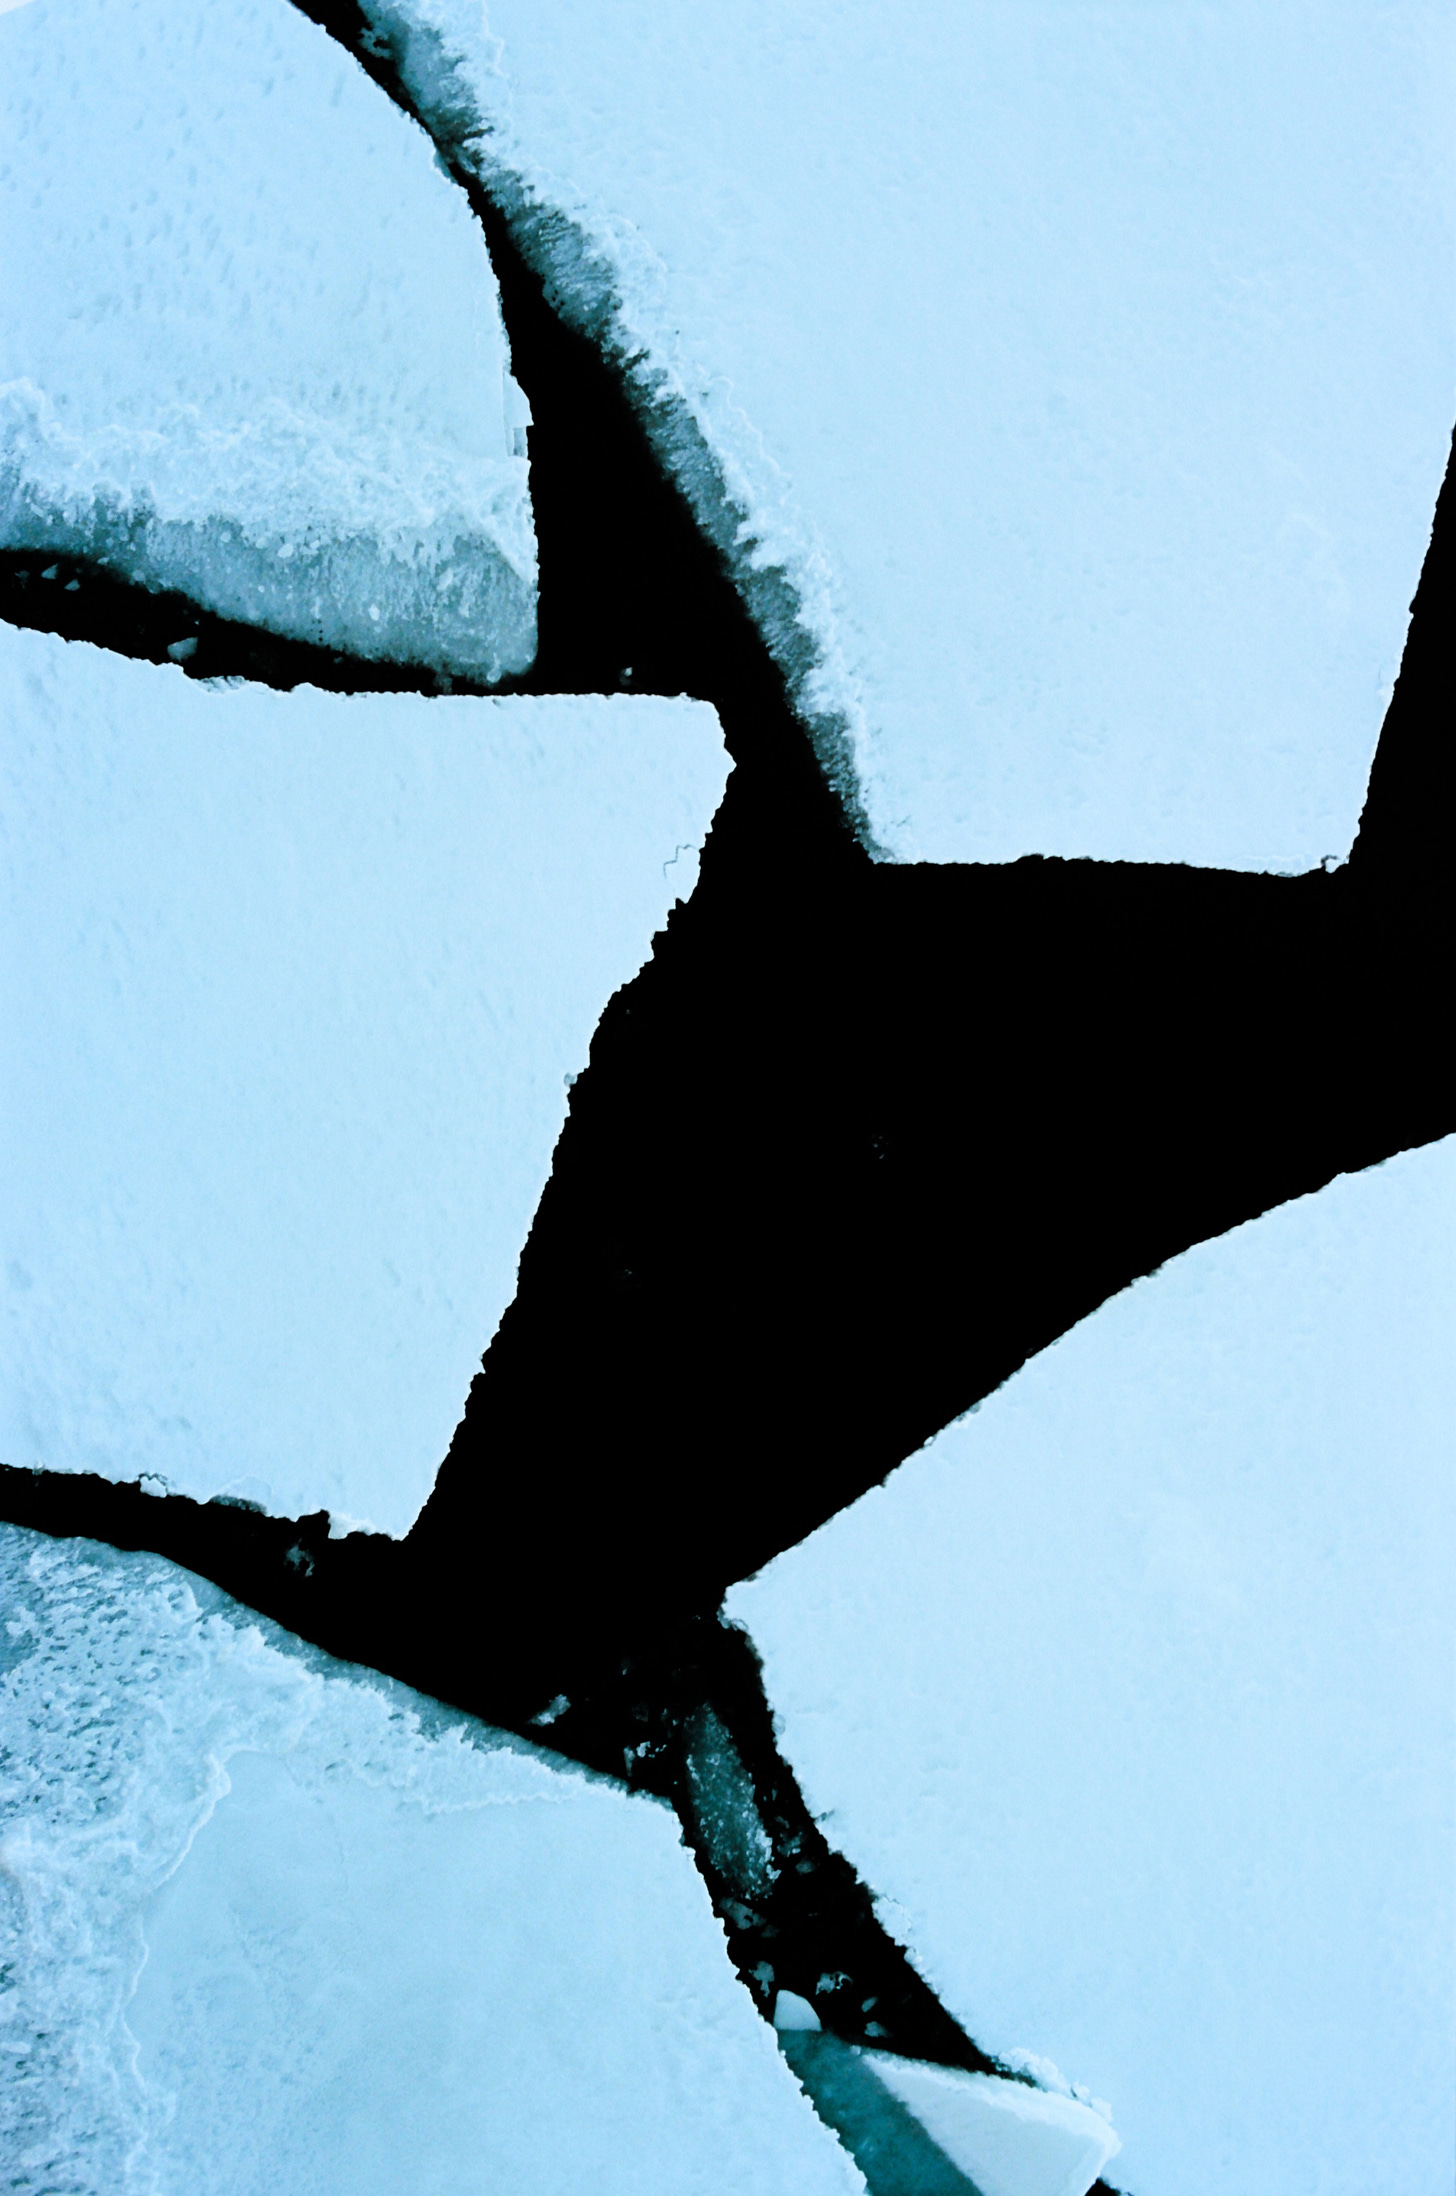
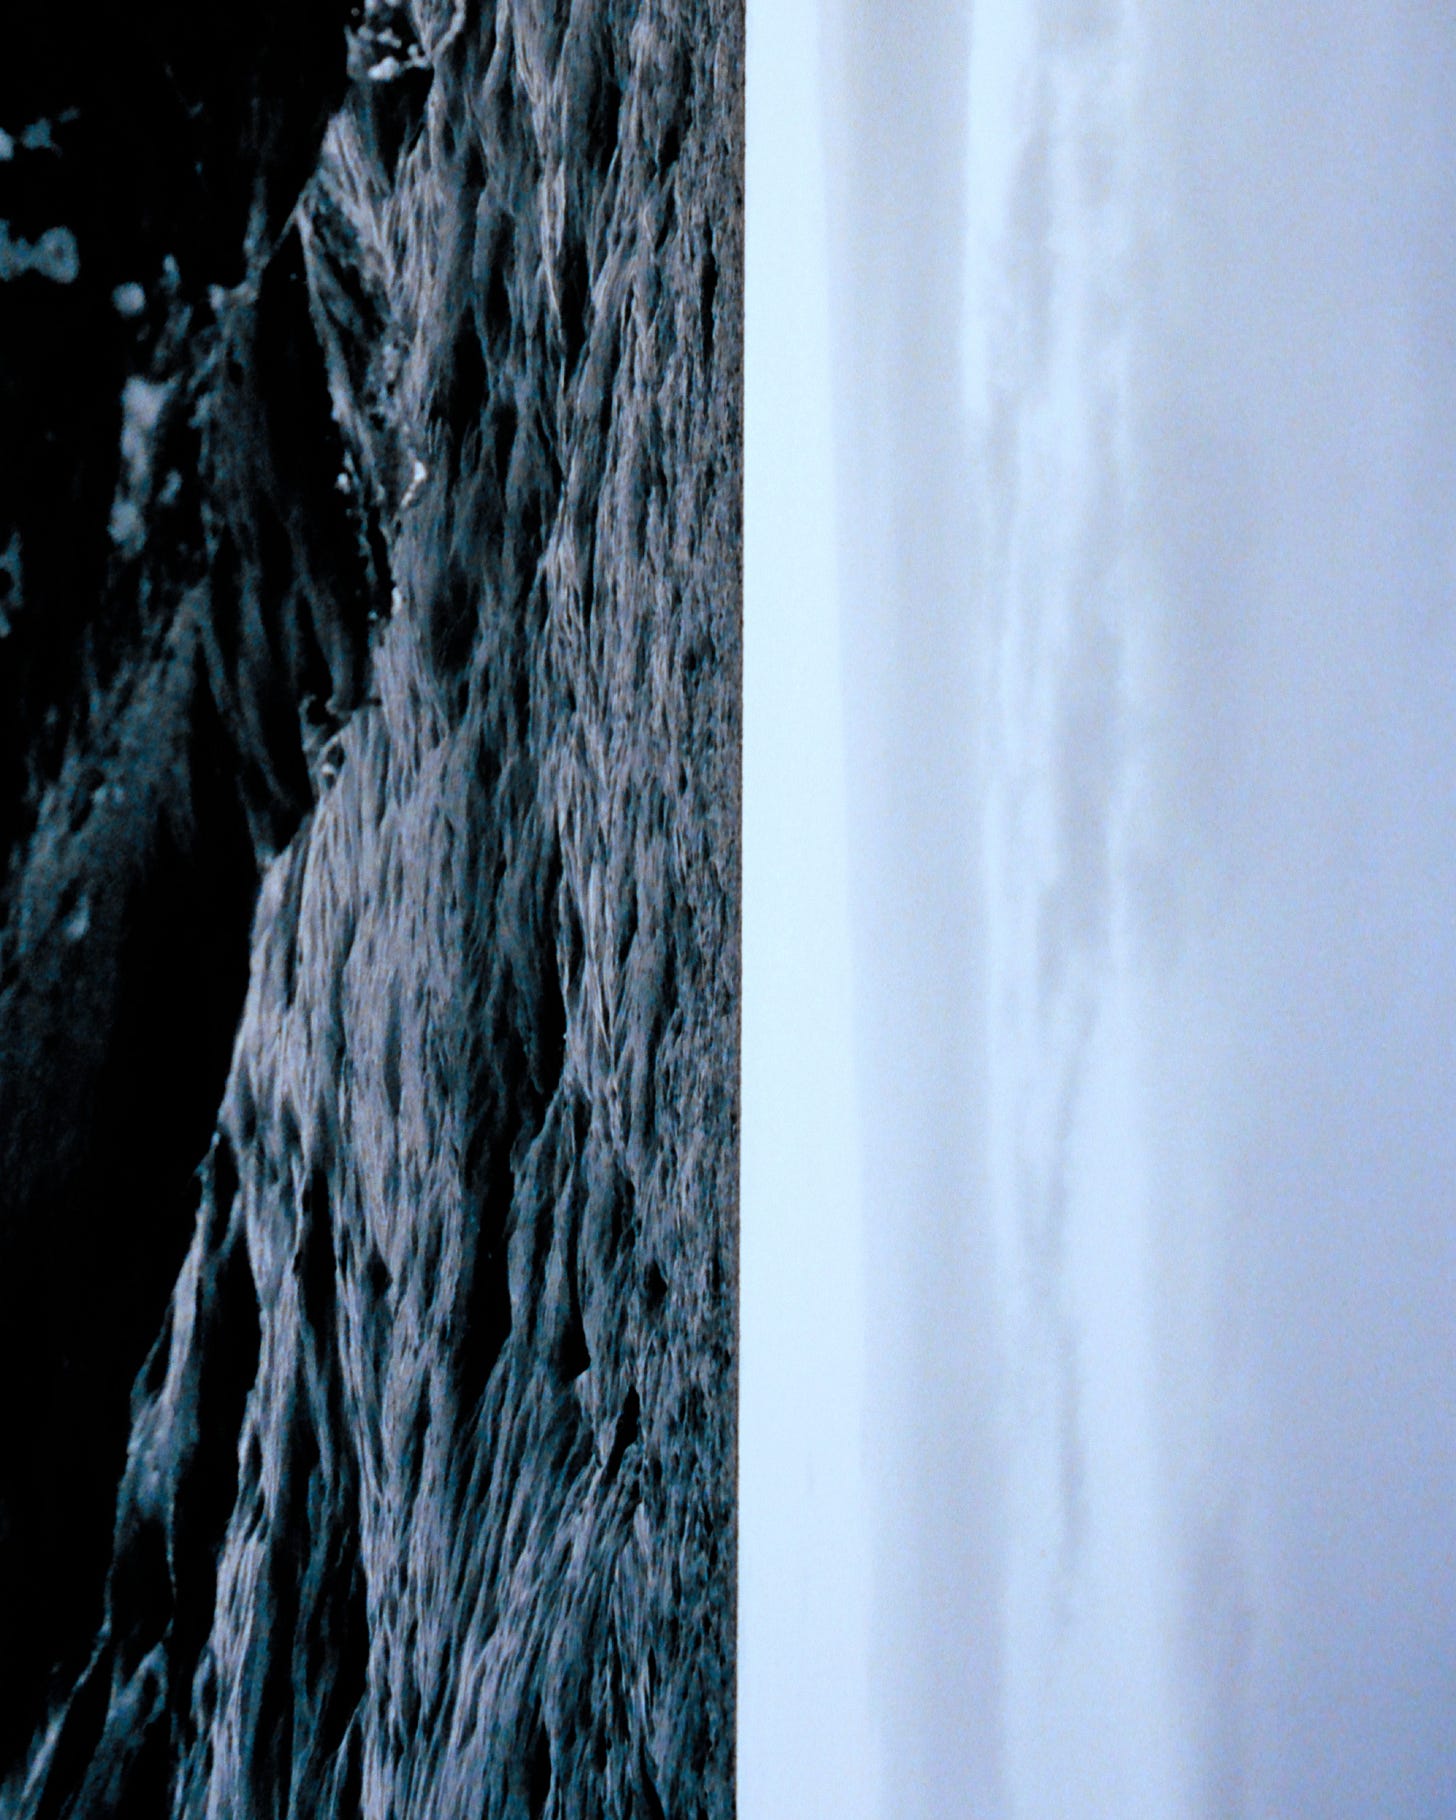
Even living Canada, I’ve never seen an ice pattern like this. It felt other-worldly so you can imagine, a lot of film was shot on these patterns. For the shots on the Mamiya, I chose to shoot it at the box speed of 400 to get a better understanding of the results first hand.
I would get mesmerized by these ice sheets fracturing under our ship. And no, I didn’t think I was a person that would be mesmerized by this. This is another phenomena that I spent many frames on.
Shooting Portra 800 on 35mm film, I’m overexposing by 1-stop (metering 800 film for 400 in the camera) to get more of those pastel colours as a starting point. In retrospect, I should’ve shot at the speed because that overexposing technique is better suited for my portrait work.
I’ve never shot this film stock before and it was definitely something that was tricky to manage. Even at ISO 80, I managed to overexpose some shots which led to more grain than expected. But I kinda f*ck with it. There’s a deep contrast with the sea and hills that I didn’t expect going in. And along with the grain, it made for something that felt even older than it was.
I knew that shooting positive film was gonna be tricky. I did my best to just meter for the highlights—the opposite of what you’d do with negative film—and pray to the Norse Gods for mercy. Well, about half the shots were sh*t. But the other half? Deep colours and beautiful texture. Totally worth it.
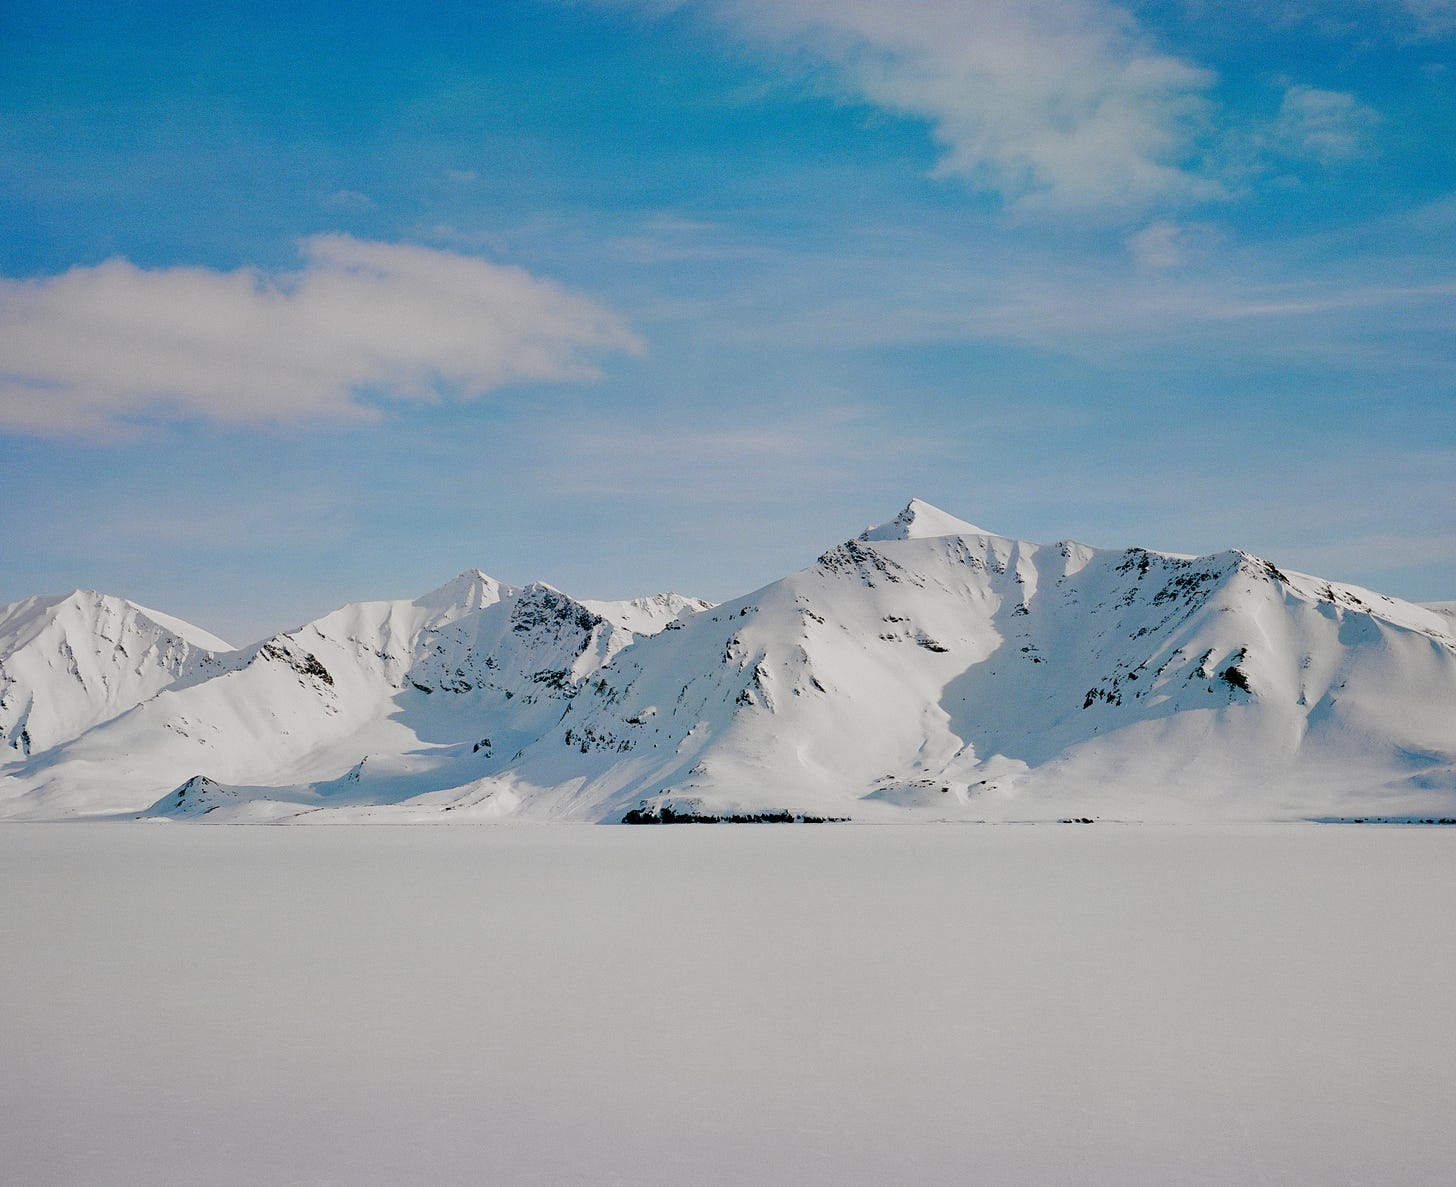
We were bombarded with these scenes that had this “you had be there” quality to them. The photos may never do them justice but we’re photographers damn it, and we have to try. This was one of those scenes and viewing this on a large display gets me pretty close to what I saw with my own eyes.
The water would constantly be changing, both in shape and colour. What really struck me were these moments on our voyage when you’d have these deep, dark blues and rolling tides. These situations that, from far seemed harmless but up close felt ominous. That you could be engulfed at any moment. And yea, it was pretty trippy to be on a zodiac during these conditions.
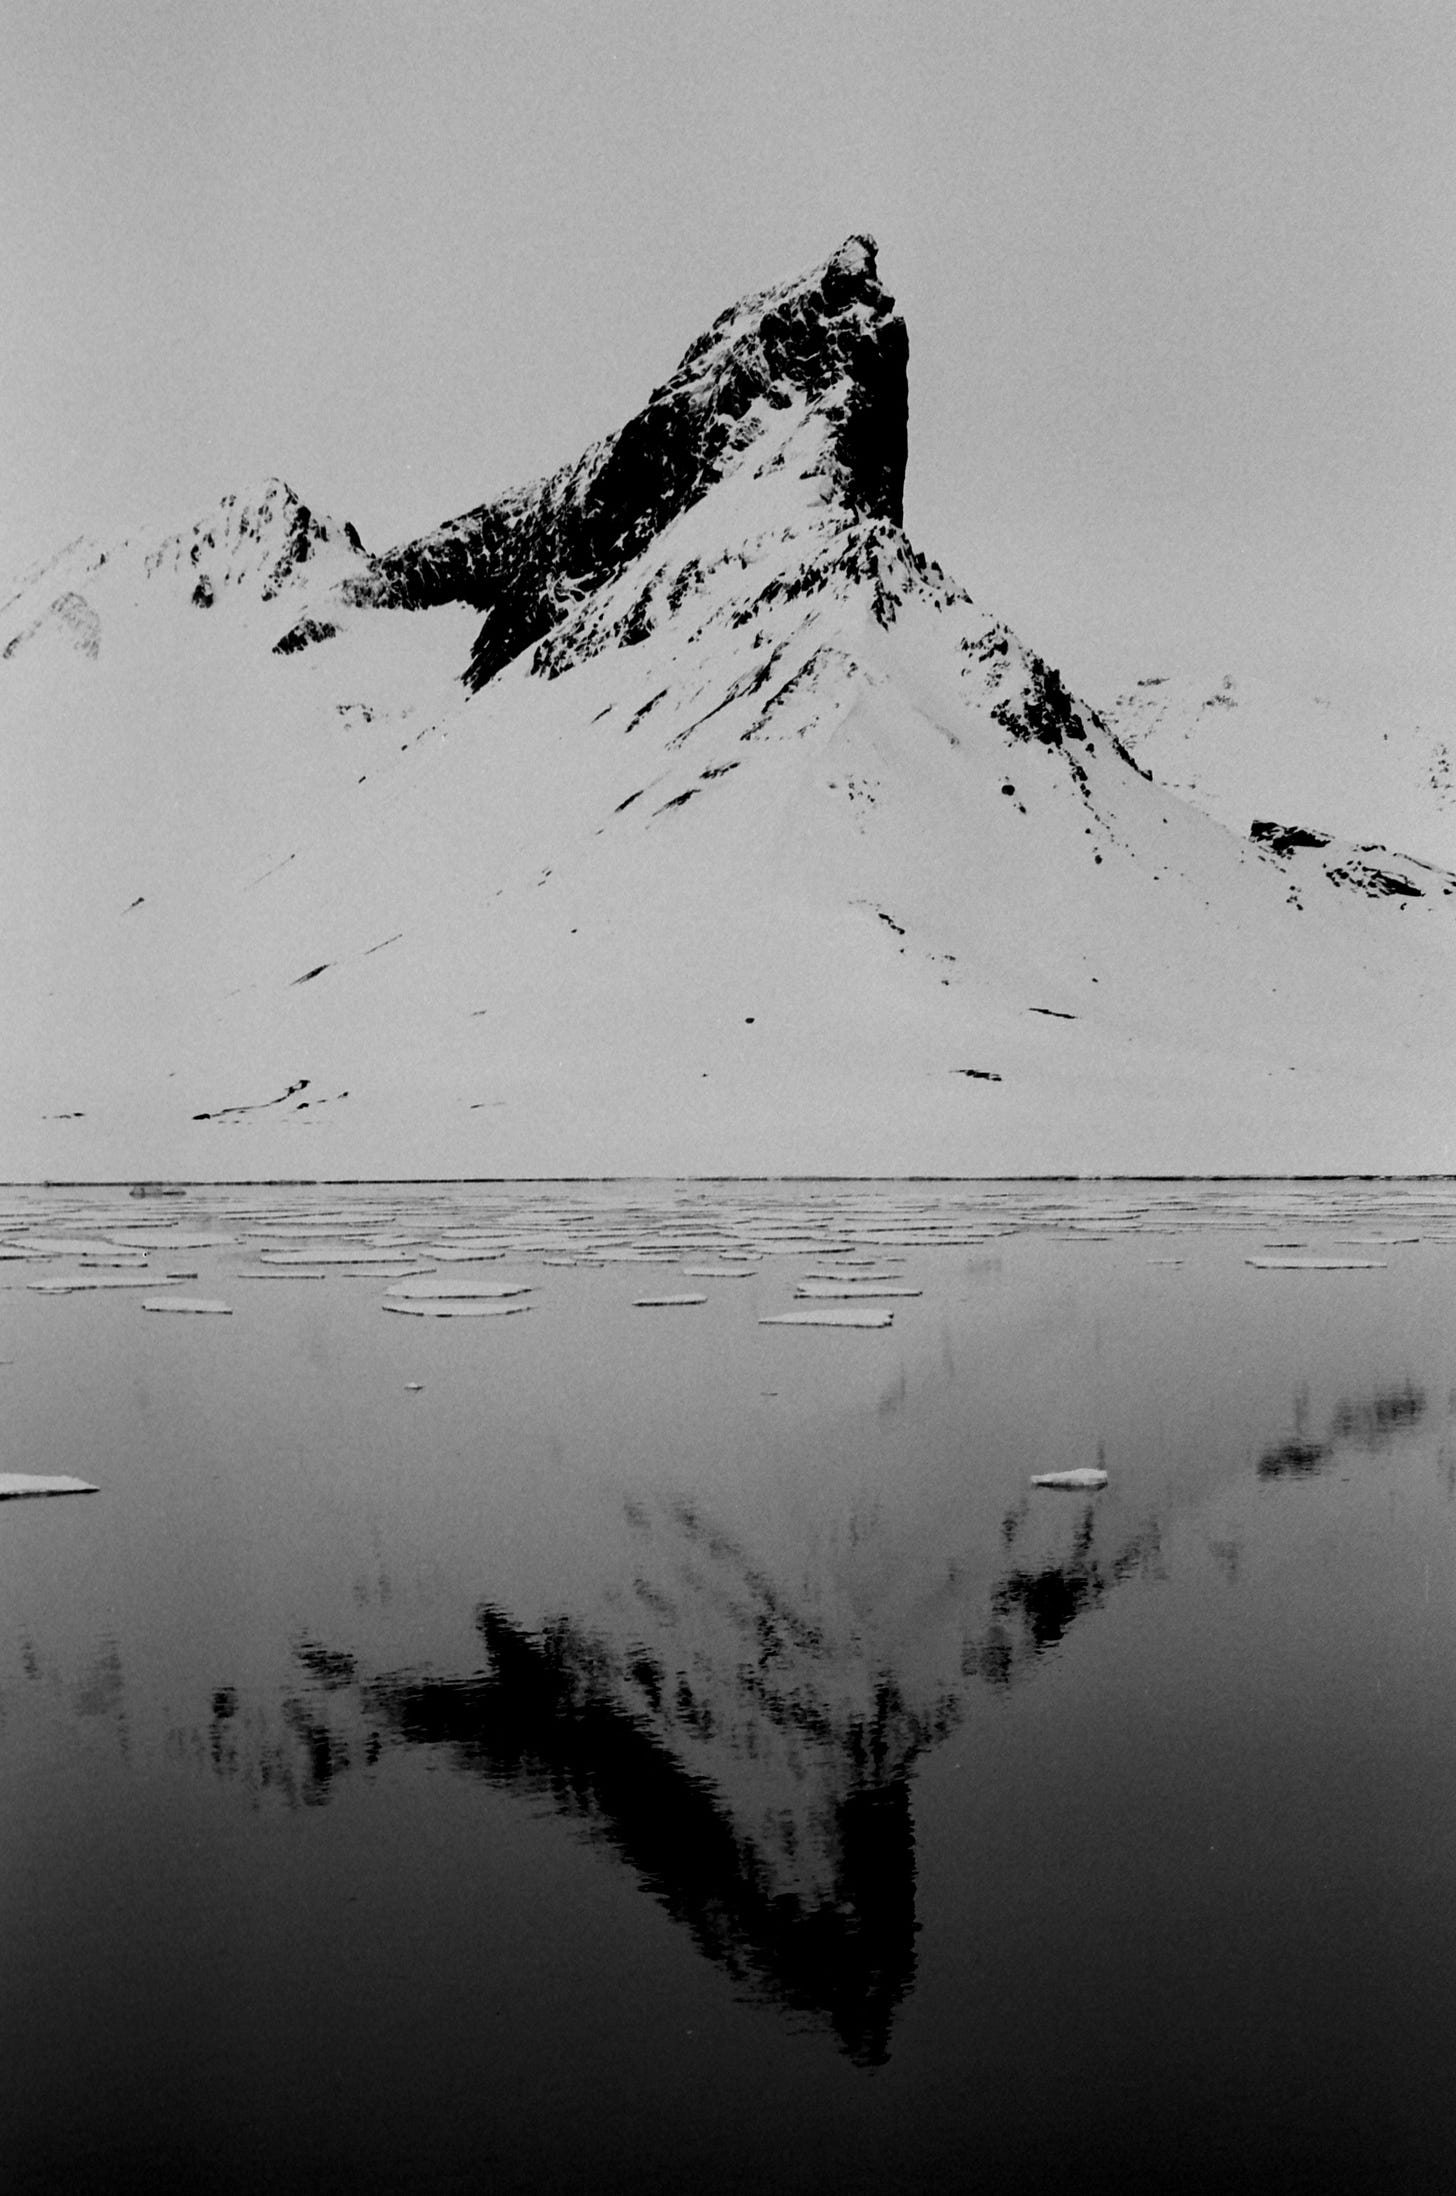
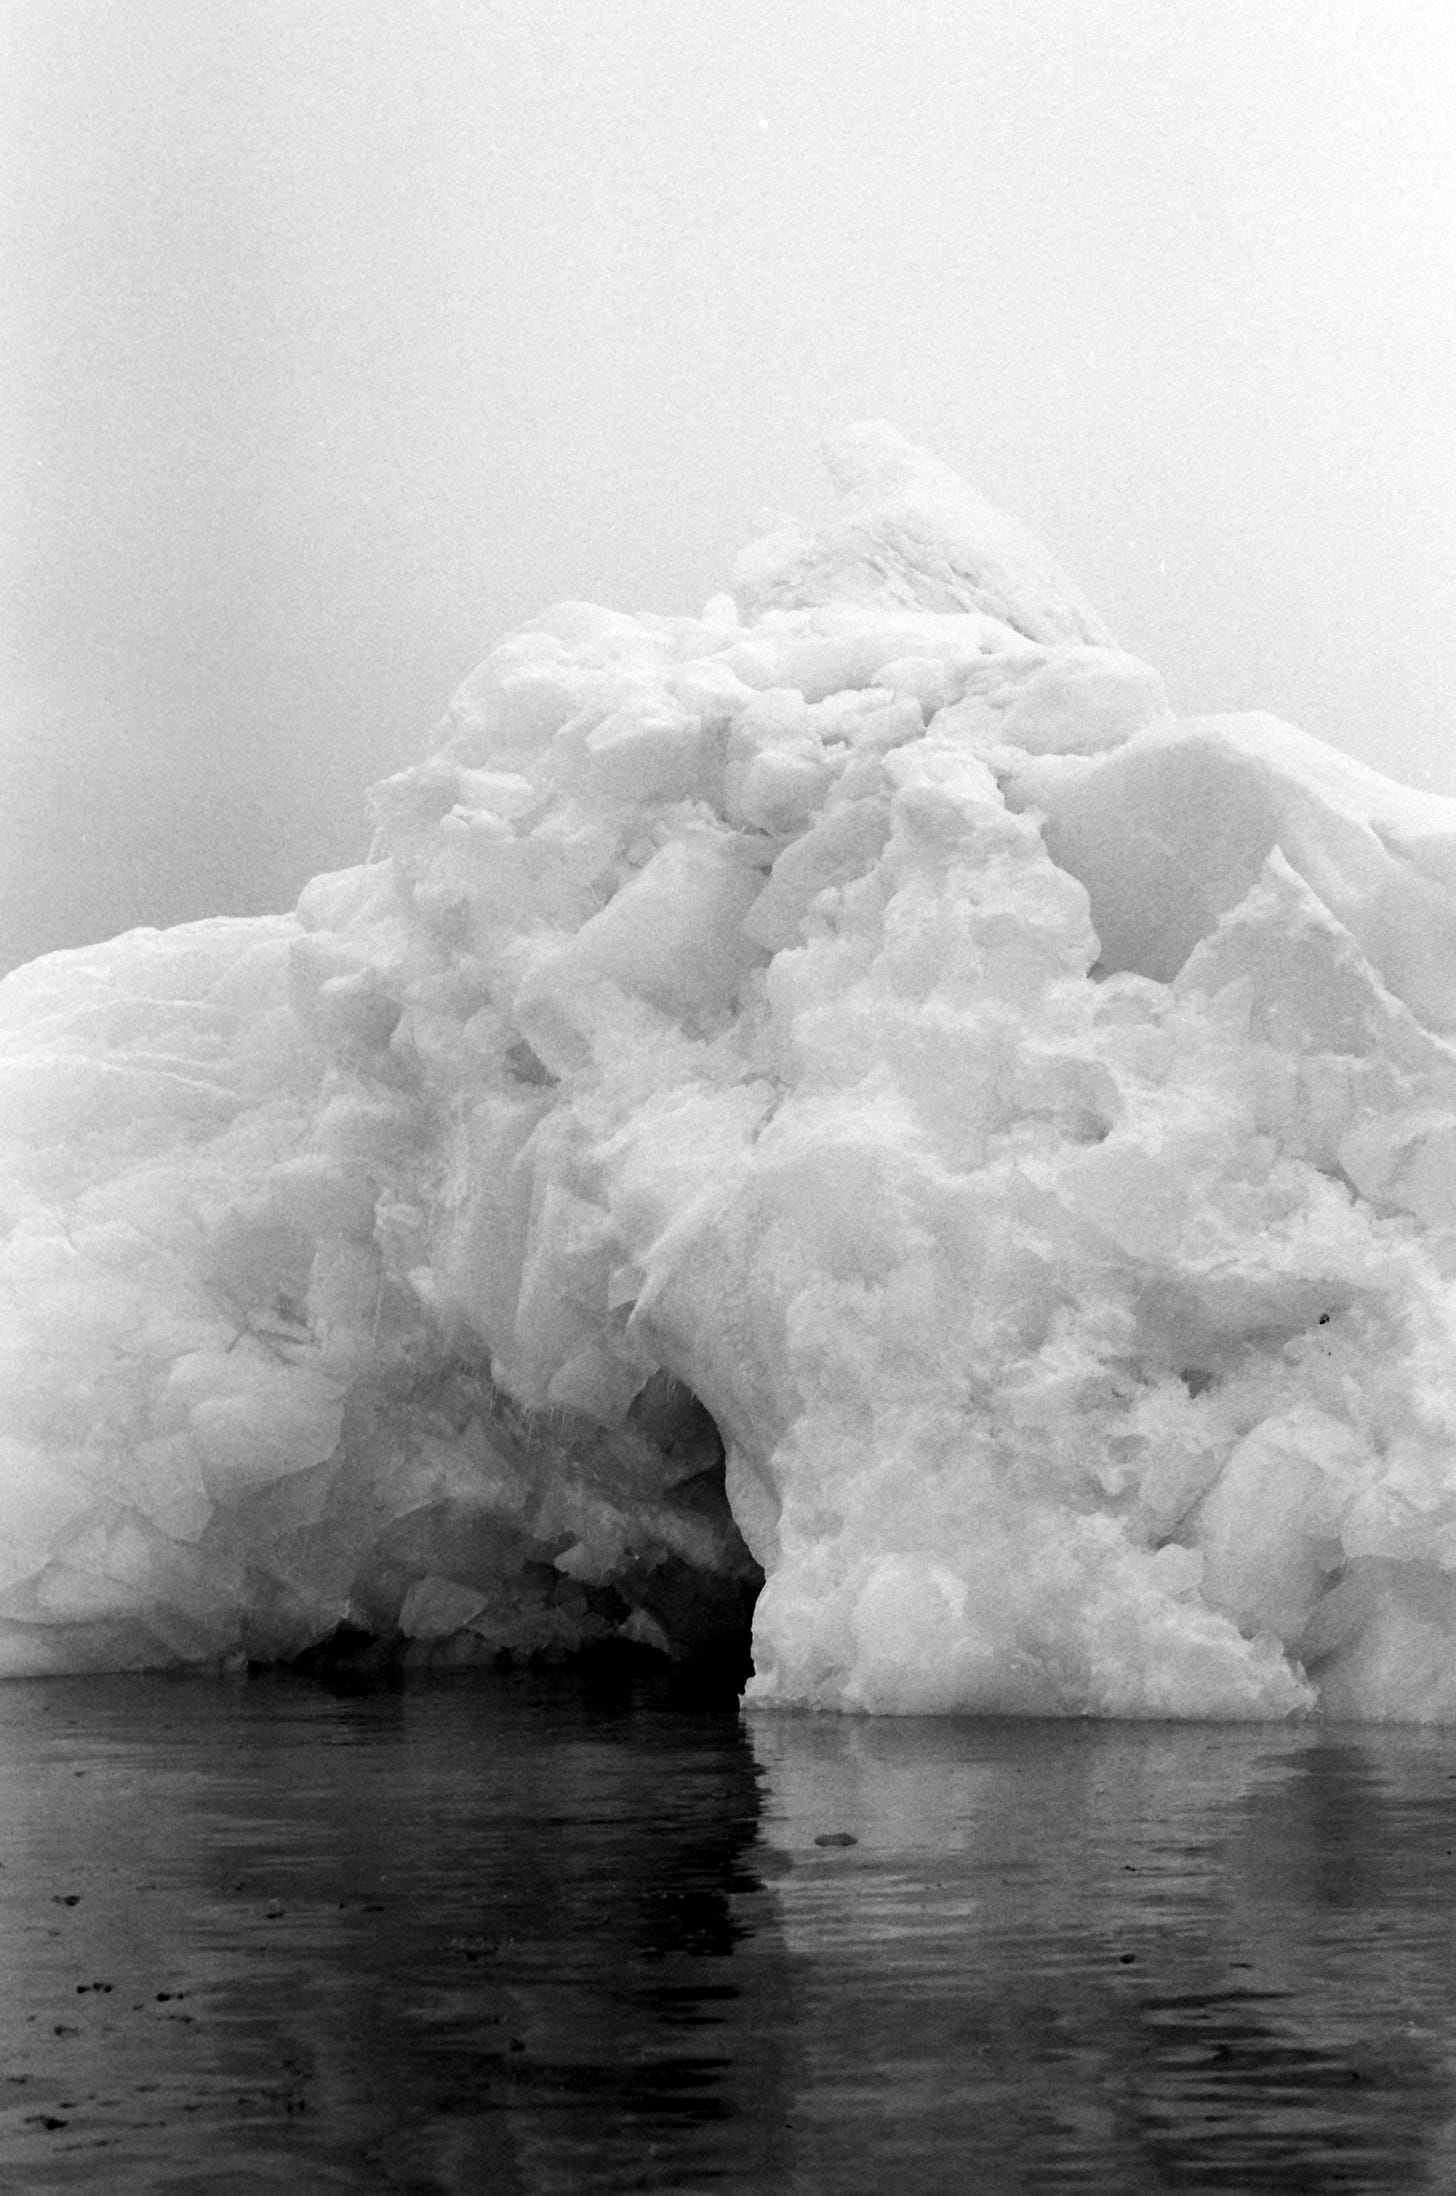
Shooting these baby icebergs on Ortho Plus made for some really interesting results. The abstraction that happens with this particular black and white film really changes how the scale of an object is perceived. I mean, how big do you think this thing is?
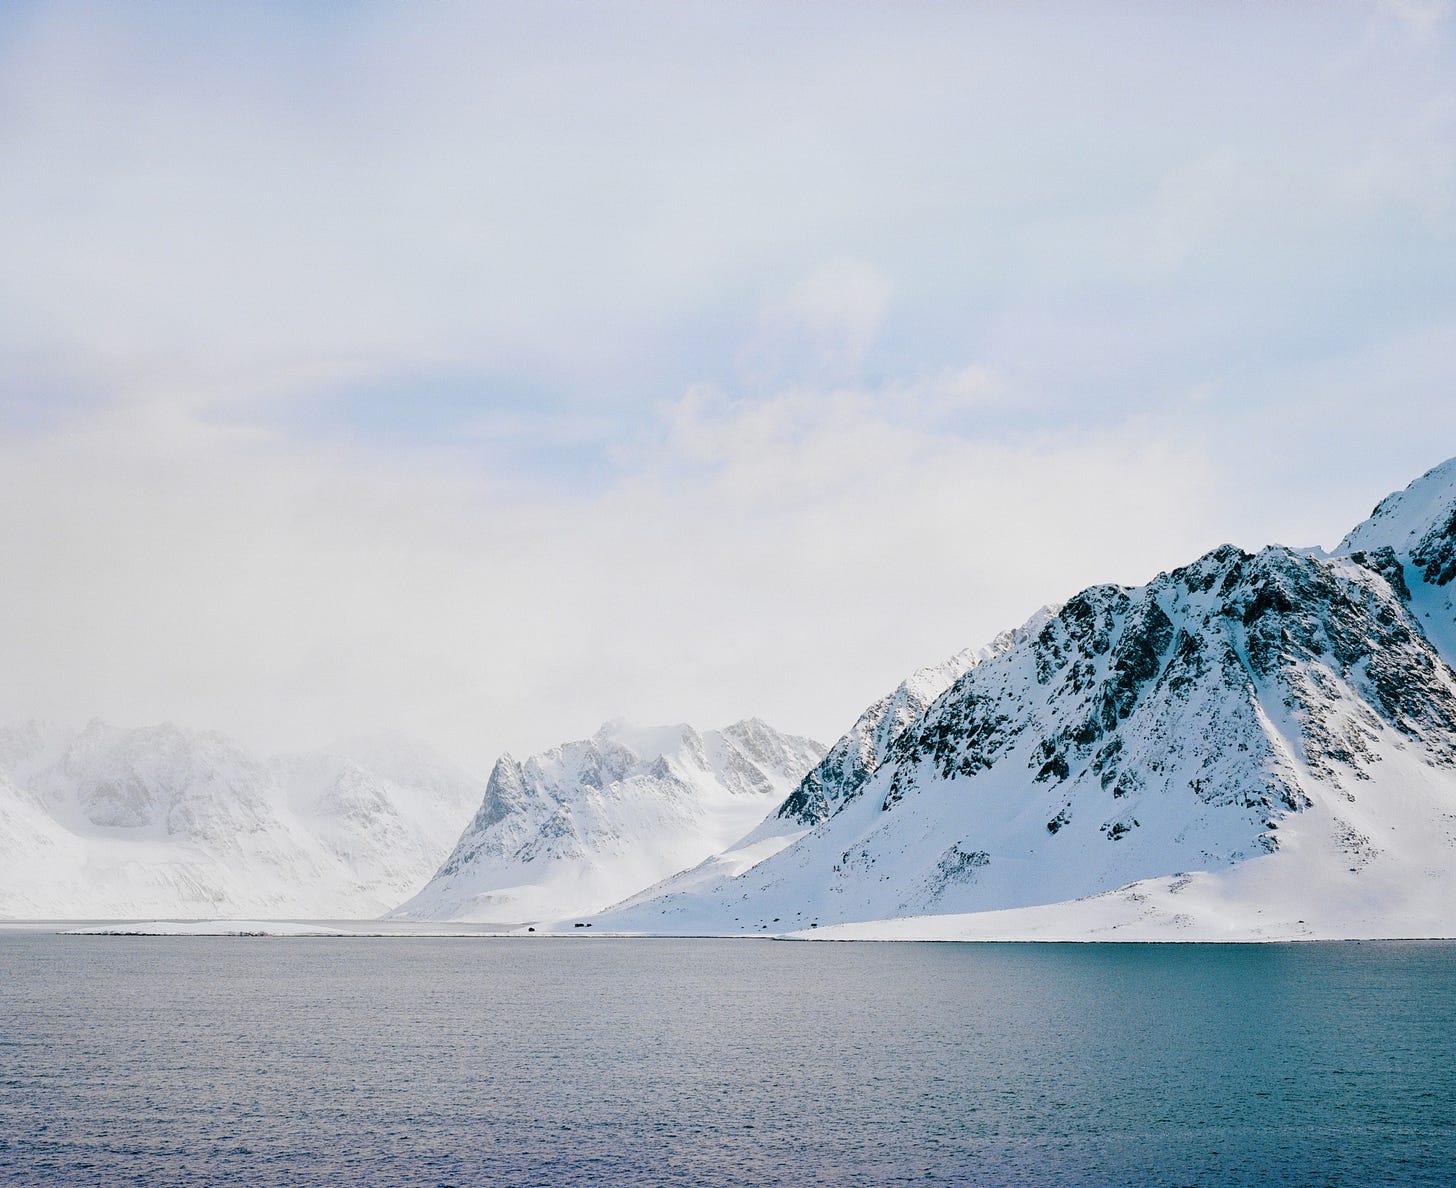
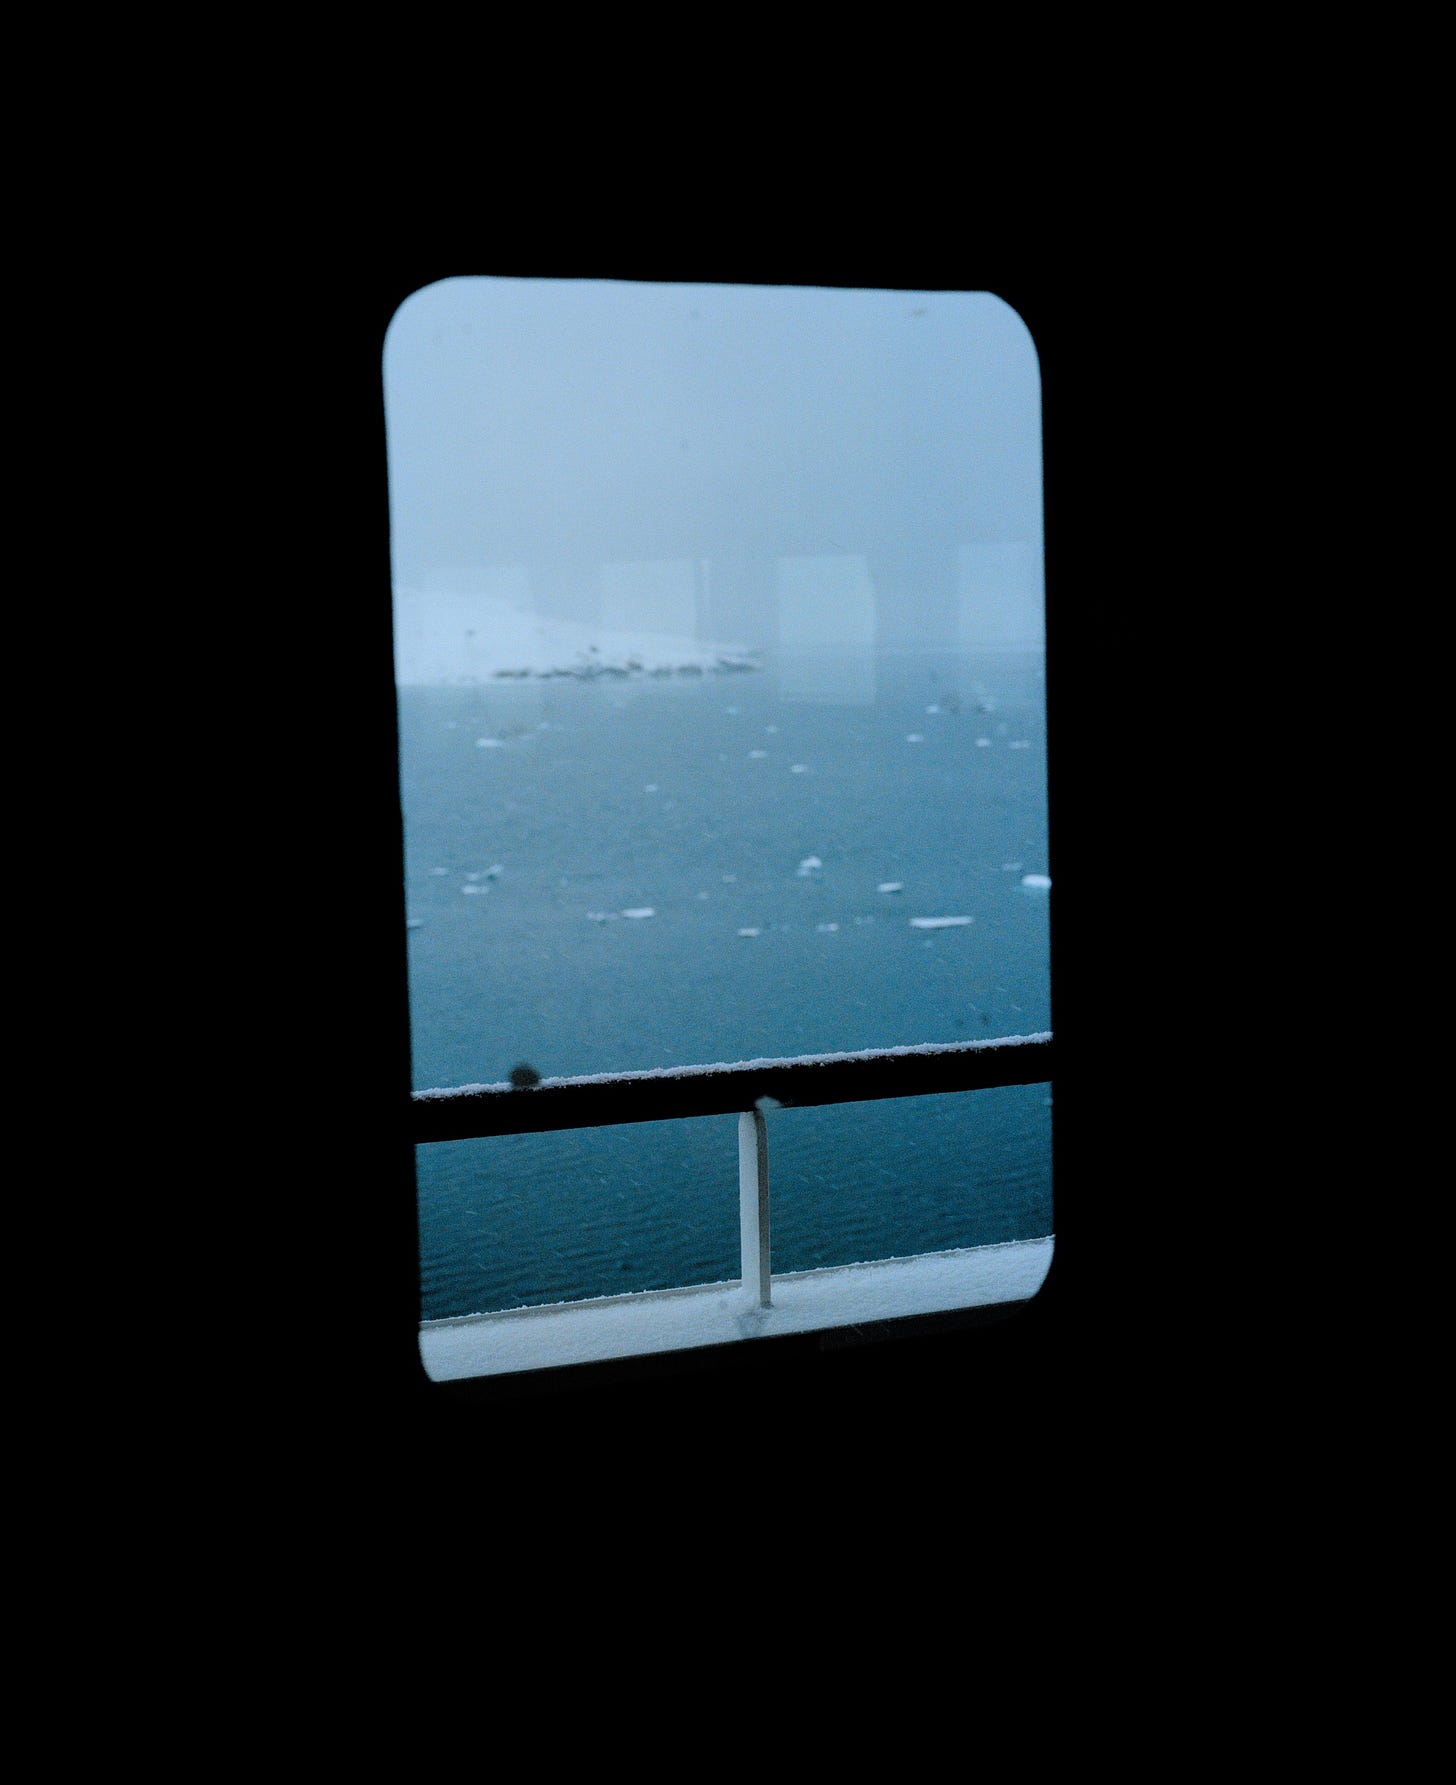
This was one of the rare moments I didn’t have to stop down my Mamiya lens all the way. It also shows one of these in-between moments on our voyage, where you’d be passing through, snow falling gently, and just appreciating the fact that you’re here.
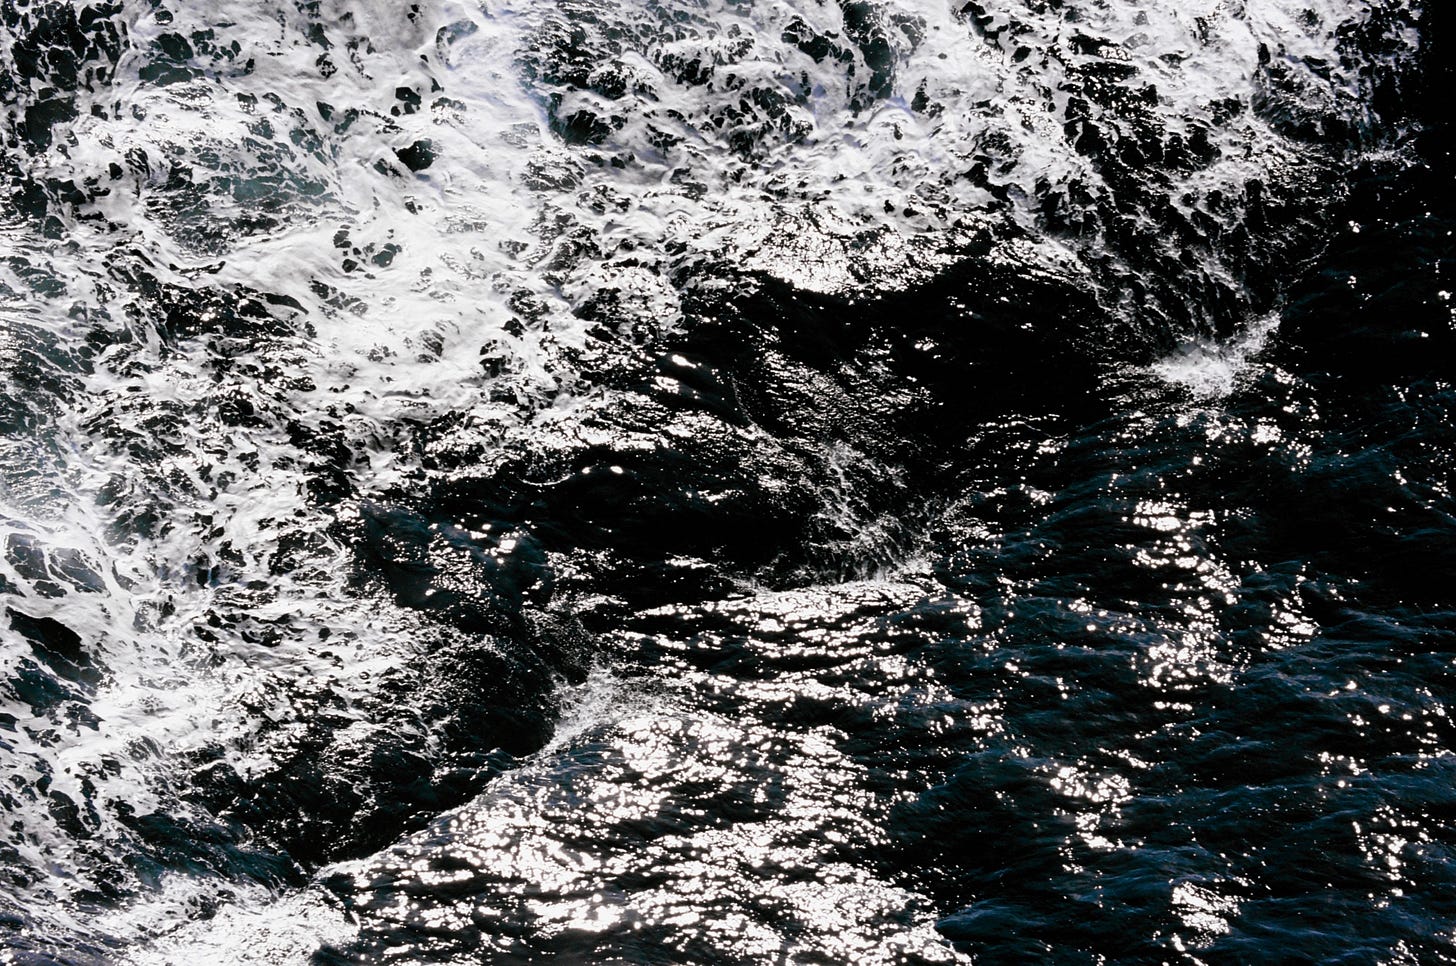
There’s a lot of images of water captured on this trip. Which might have something to do with the fact that I can’t really swim. This is one in particular is one that I really liked. I metered for a dark part of the ocean, recomposed the frame to where the water started to break, and tried my best to capture this duality in the sea with the fastest shutter I could. Let me tell you, I’m just glad that I got at least one frames that I really like. And that’s the beauty of shooting film: you’ll only remember the hits.
The Mistakes
With the amount of film being shot, I knew I was gonna be making plenty of mistakes no matter how careful I was. If I were to account for those mistakes and the duplicate images, my hit rate was barely 20%. But that’s part of the story! You take the road less traveled, get humbled, and grow. So with that said, here’s the things that I could’ve done better.
I should’ve shot a few more test rolls with the Mamiya. It’s a newer camera to me and I needed more reps with it. Turns out that I was winding the film a little quickly at the end, and that could make for loosely wrapped film which led to some minor light leaks.
For the Velvia film, I should’ve packed a warming filter to correct for these blue undertones in the environment. While it’s manageable, I wanna make a habit of getting the best starting point possible.
Even while metering for the shadows, some of the shots got overexposed. Especially on the Ilford Ortho Plus film. Next time, I gotta make an effort to pack ND filters for my film cameras.
Now, I wish I could tell you that I came to these conclusions on my own but it was actually thanks to the help of my friend Avan Patel. He’s an accomplished wedding photographer and the owner of All Things Film. What is All Things Film? I’m glad you asked…
Solving the Film Problem
The biggest problem we face shooting film is that most of us don’t develop our own work. As a result, we relinquish so much of the creative control to some arbitrary lab technician. Sure, we shot the photo but it’s the person at the lab that has the final say on what image looks like. Plus, since we’re not developing the film, we’re not learning about our mistakes enough. I hated this. Which is why I’m so excited that I’ve solved this problem.
I’m proud to share that I’ve finally found a film lab to call home. What makes All Things Film such a great partner is that they’re looking to deliver top-tier customer service from the start. It’s a lab built for professionals where they’re technicians and editors work with you to create a development and adjustment process. Once they’ve landed on the sweet spot, they save your profile so that anytime you ship them your film, they’re coming out just how you like them. Each and every time.
Not to mention, this is all done in an easy and cost-effective way. Just choose from one of there competitive packages, ziplock your film, add some bubble wrap, and ship it off. The process could not be simpler. Once received, one of their pros will work with you to get the best results for your story. And that makes all the difference.
I wouldn’t partner with any lab or brand unless it was something that I truly believed in. When it comes to my film journey, All Things Film is the lab I’m trusting with my work and the lab that I’d recommend to you as well. Visit the link here to learn more.
May Contest Winner!
Congratulations to the winner of last month’s contest for a five-pack of Kodak Portra 400 35mm film…
Anthony N.
I’ve emailed you the details. Enjoy the goodies!
New June Contest!
Each month, I run a contest for the Church & Street Foto Club and try to feature something that I believe people will appreciate.
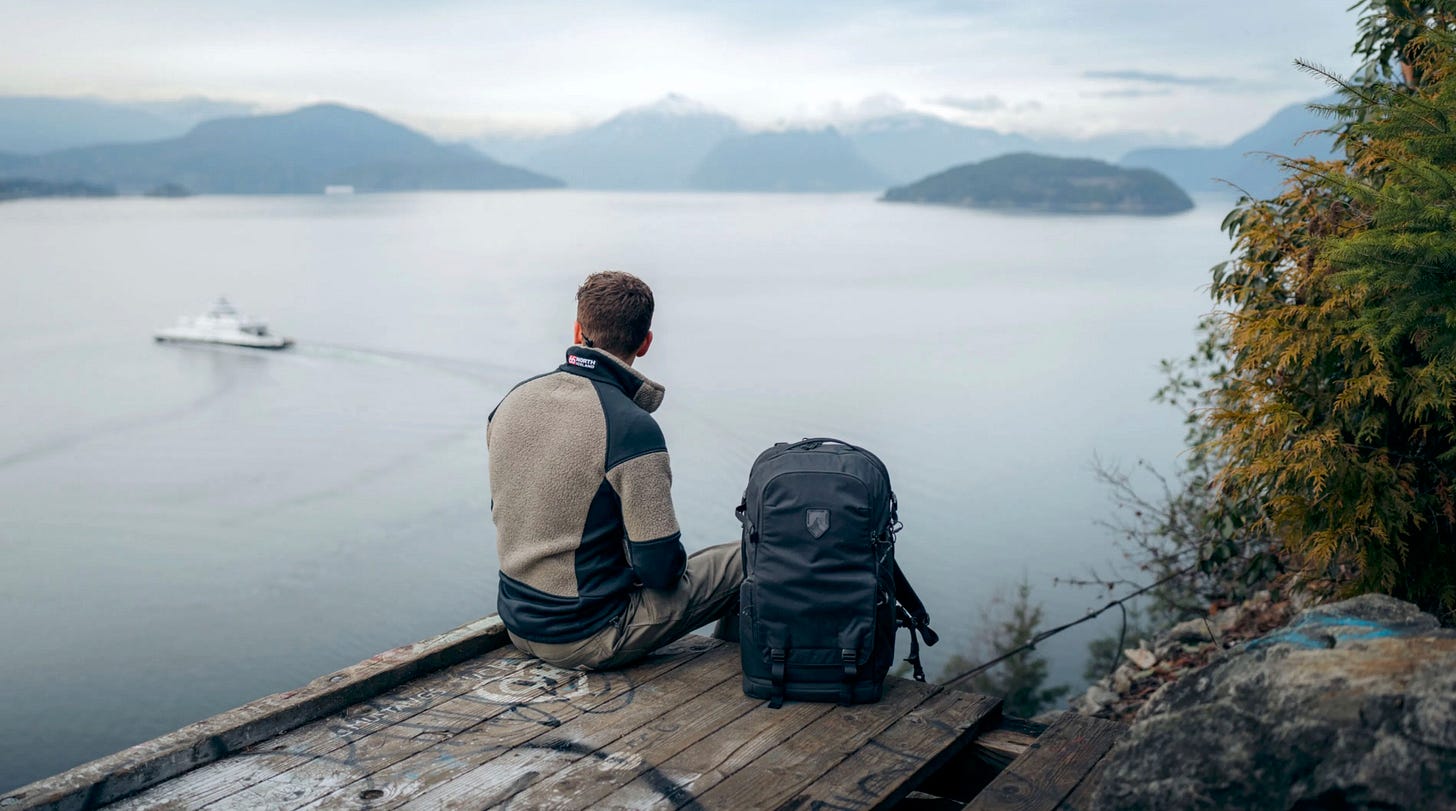
For June, I’ll be giving away the Daychaser 35L Travel Backpack from Moment. This is the bag that I relied on for my Arctic adventure and something that truly exceeded my expectations. If you wanna see how I packed it, check out this reel.
How am I picking the winner? All you have to do is be a member of this community and leave a comment on this post. As with every contest, I’ll be randomly picking one person, confirming they meet the requirements and then contacting them directly before announcing the winner publicly.
Once again, this contest is void where prohibited by law. Good luck!
My thanks to the team at Moment! Not only for this contest but for being the longest supporter of my work online. They’re a lean team of passionate creators that truly believe in supporting other creatives on their journey. Whether it’s a new camera, lens, workshop, or just some great articles, visit ShopMoment.com today.
What’s Next?
You ever sit down and look at the month ahead and think, “F*ck… That’s a lot.” Well, that’s what June is looking like for me, haha. It’s this wild mix of new journeys, new challenges, and a touch of travel that’ll make the month fly by.
The one thing that I’m really excited about is happening toward the end of the month. I’ll be going back to a genre of photography that I hard quit, and try to create some magic. But more on that later. That’s enough for this week. See ya next time!
GB






I absolutely love this style of sharing your work and going over all the film and camera bodies. I will have to try and summarize my photographing outings like this in the future. The pics are great! What a cool opportunity.
Do you ever have any trouble traveling with film? I haven't had good luck getting things hand checked when traveling outside the US