

How I Organize & Edit My Photos While Travelling
A deep-dive into building a trusted process

If you enjoyed reading this, feel free to like or share this post so more people can discover it on Substack.
I’ve been using the latest version of Capture One Pro for weeks and the brand-new AI masking features have made the turnaround time on my photography even faster. I can blaze through files quicker than before, snap to the eyes for focus, make easy selections, apply my layered styles, separate the subject from the background, fine-tune my edits, and push out the work… in minutes!
But before I cover any of that, let me answer a question I get asked about often when I’m on these photography adventures, “How the f*ck do you manage all your files?”
Building a System
Just like the Pyramids, the foundation is the most important part of any system. First, I set aside two drives: one solid-state drive (SSD) as my primary storage and one hard drive (HDD) that’ll serve as a back up for all the files. Next, I’ll create a file system in the SSD that makes it easy for my future self to go back and find whatever I might be looking for.
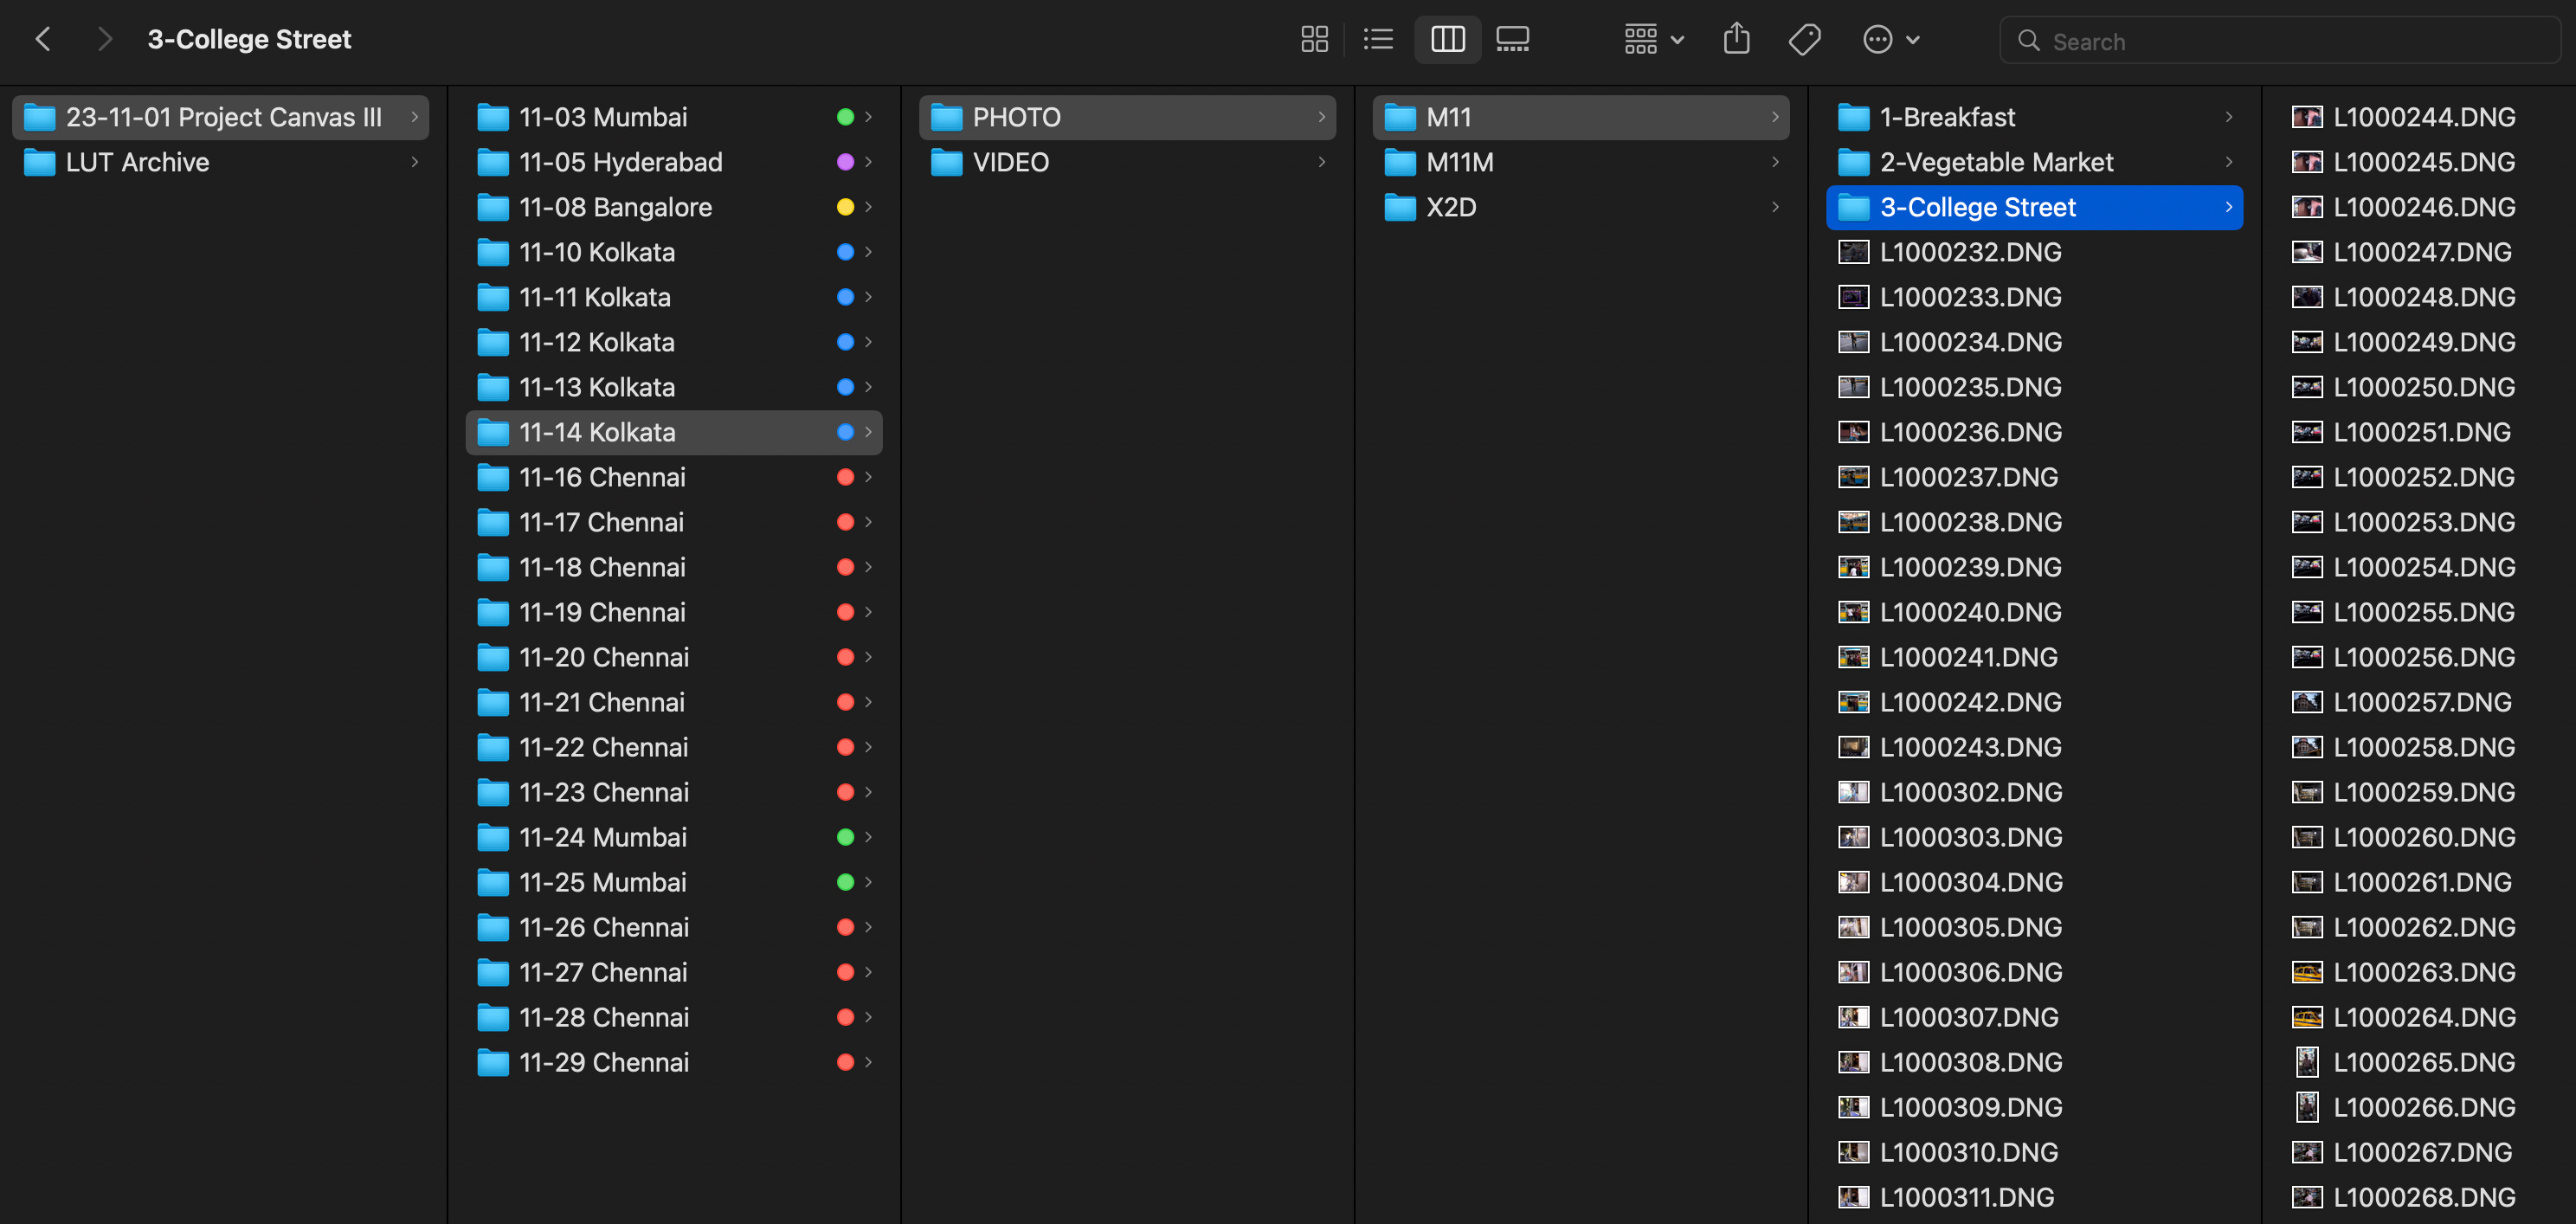
First there’s a root folder with year-month-day and project name
Inside, I’ll set two folders: PHOTO and VIDEO
I’ll jump into the PHOTO folder, create a MONTH-DAY-CITY folder that corresponds to each day I'll be shooting
Within this, I’ll create 2-3 folders for each camera I’ll be using
I’ll then replicate the previous two steps in the VIDEO folder as well
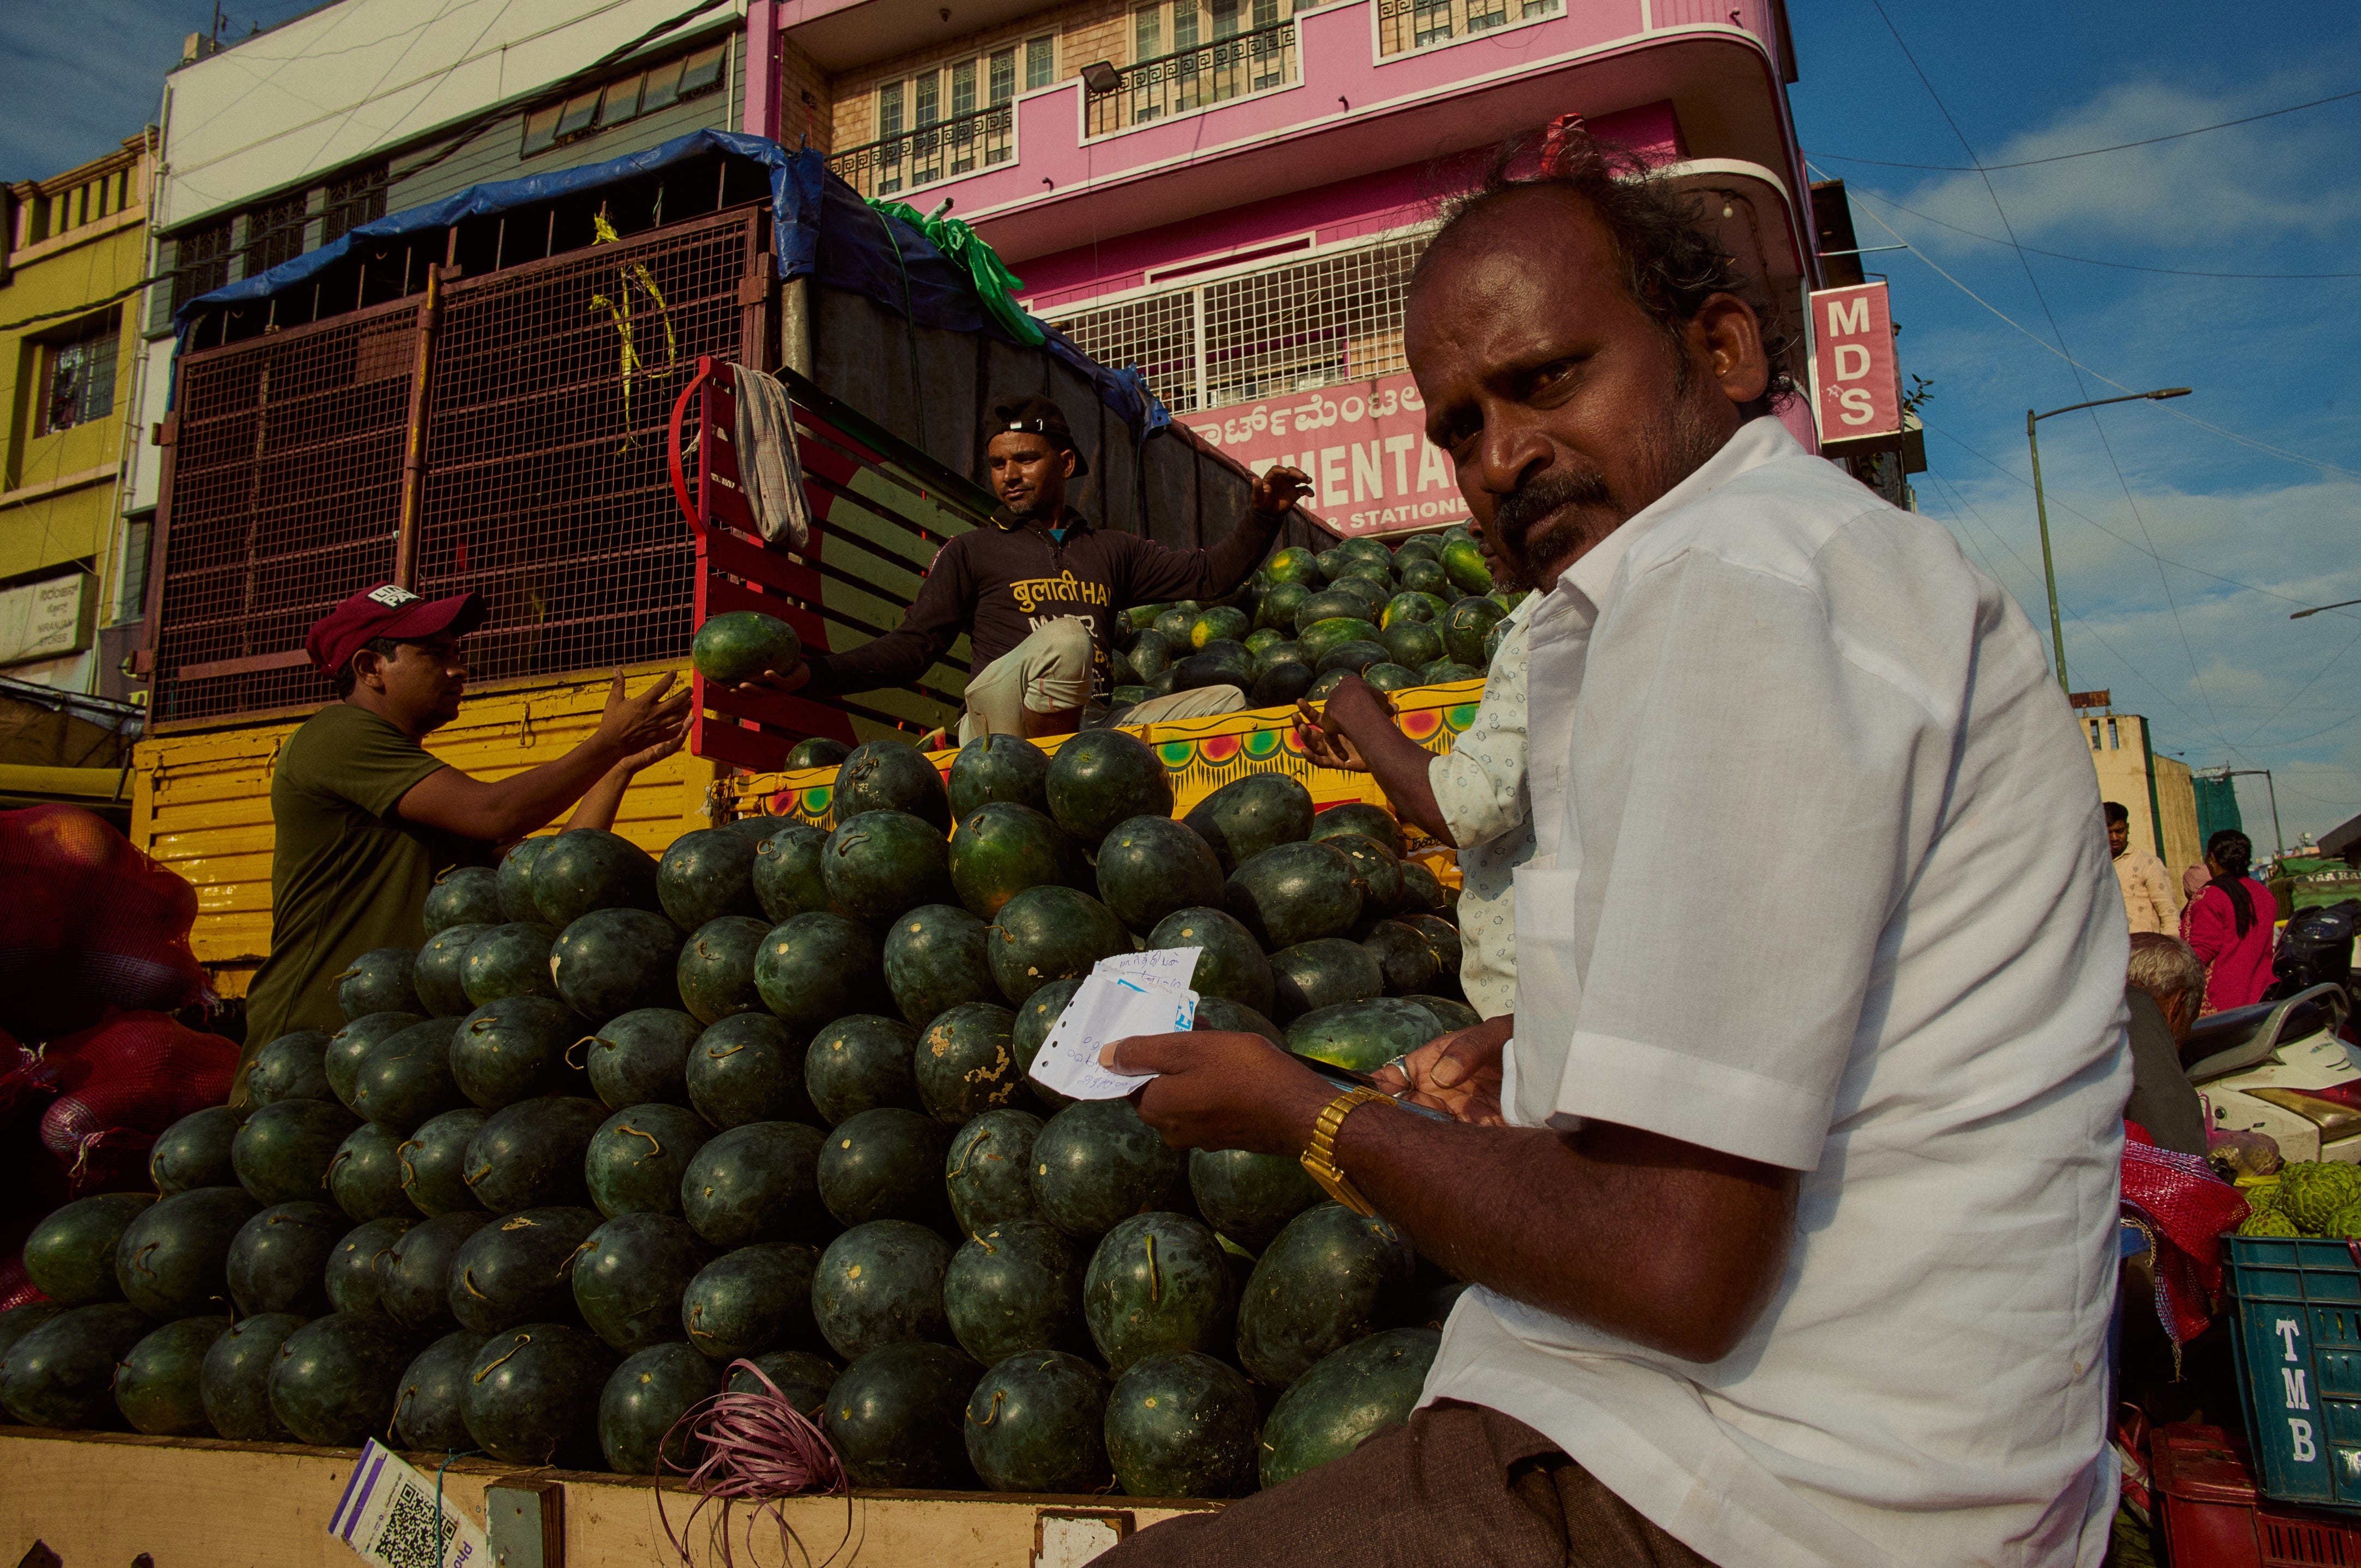
After each day of shooting, I’ll come back and import the files into the respective folders on my SSD and if it’s possible, I’ll even create another folder to designate the people or scenes that were photographed during that day. For example, I might create a sub-folder called “College Street” to separate the files from a session in a particular area.
This is also a great reminder to invest in memory cards with fast read speeds. It really helps to speed up imports and save time. After importing, I’ll make a copy of the DAY folder onto the HDD. This is our second back up in case of an emergency.
If this feels involved, it’s because it is! The whole point of this is to create a system that’s reliable and should I have to come back and find some files for myself or someone else, I can do so easily.
Alright, now that I’ve covered the boring but critical steps to make sure I don’t f*ck up the file management, let’s jump to Capture One Pro and start cooking.
Curating the Photographs
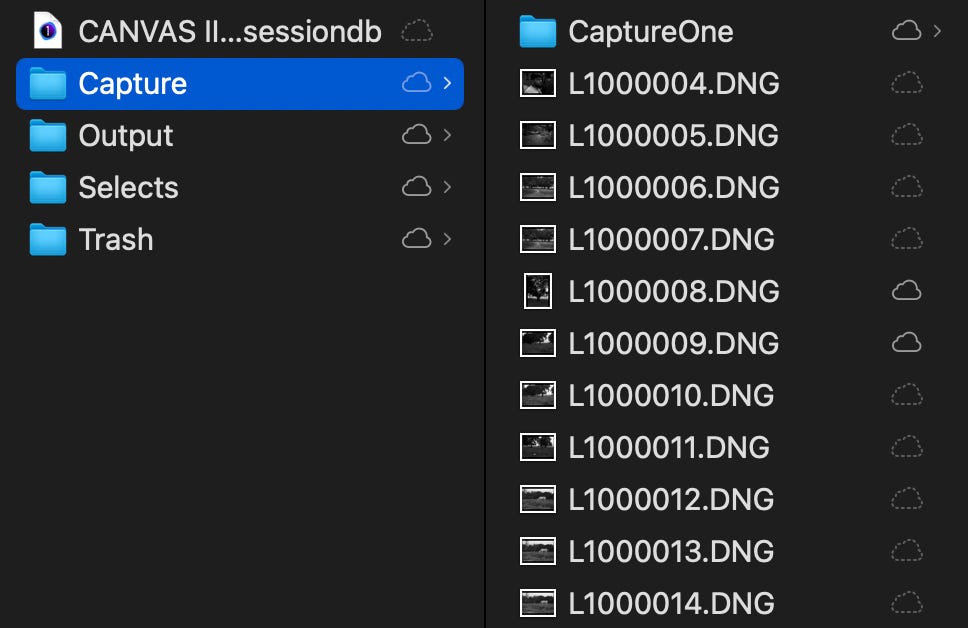
On the first night, I’ll create a Session in Capture One Pro on my desktop. The beautiful thing here is that this will serve as a self-contained folder with another copy of all my RAW files along with my changes, edits, and styles. Again, ALL of this sits in one folder that any computer with Capture One Pro can open, so I can move this folder from machine to machine as needed and my work will move with it.

Next, I’ll create Smart Albums for the cameras I’m using and standard Albums for the cities and clients I’ll be working with. Each night, I’ll fire up Capture One Pro and start importing my images, which will copy the RAW files from my SSD into this Session. If you’re following along, that’s now three copies of all my photos in three different locations. If you don’t have room on your desktop, I’d create a session on the SSD itself.
I’ll then move the imported images to the Capture folder of the Session, which moves these copies to the Capture folder of our Session. Now, let’s talk about curating shots.
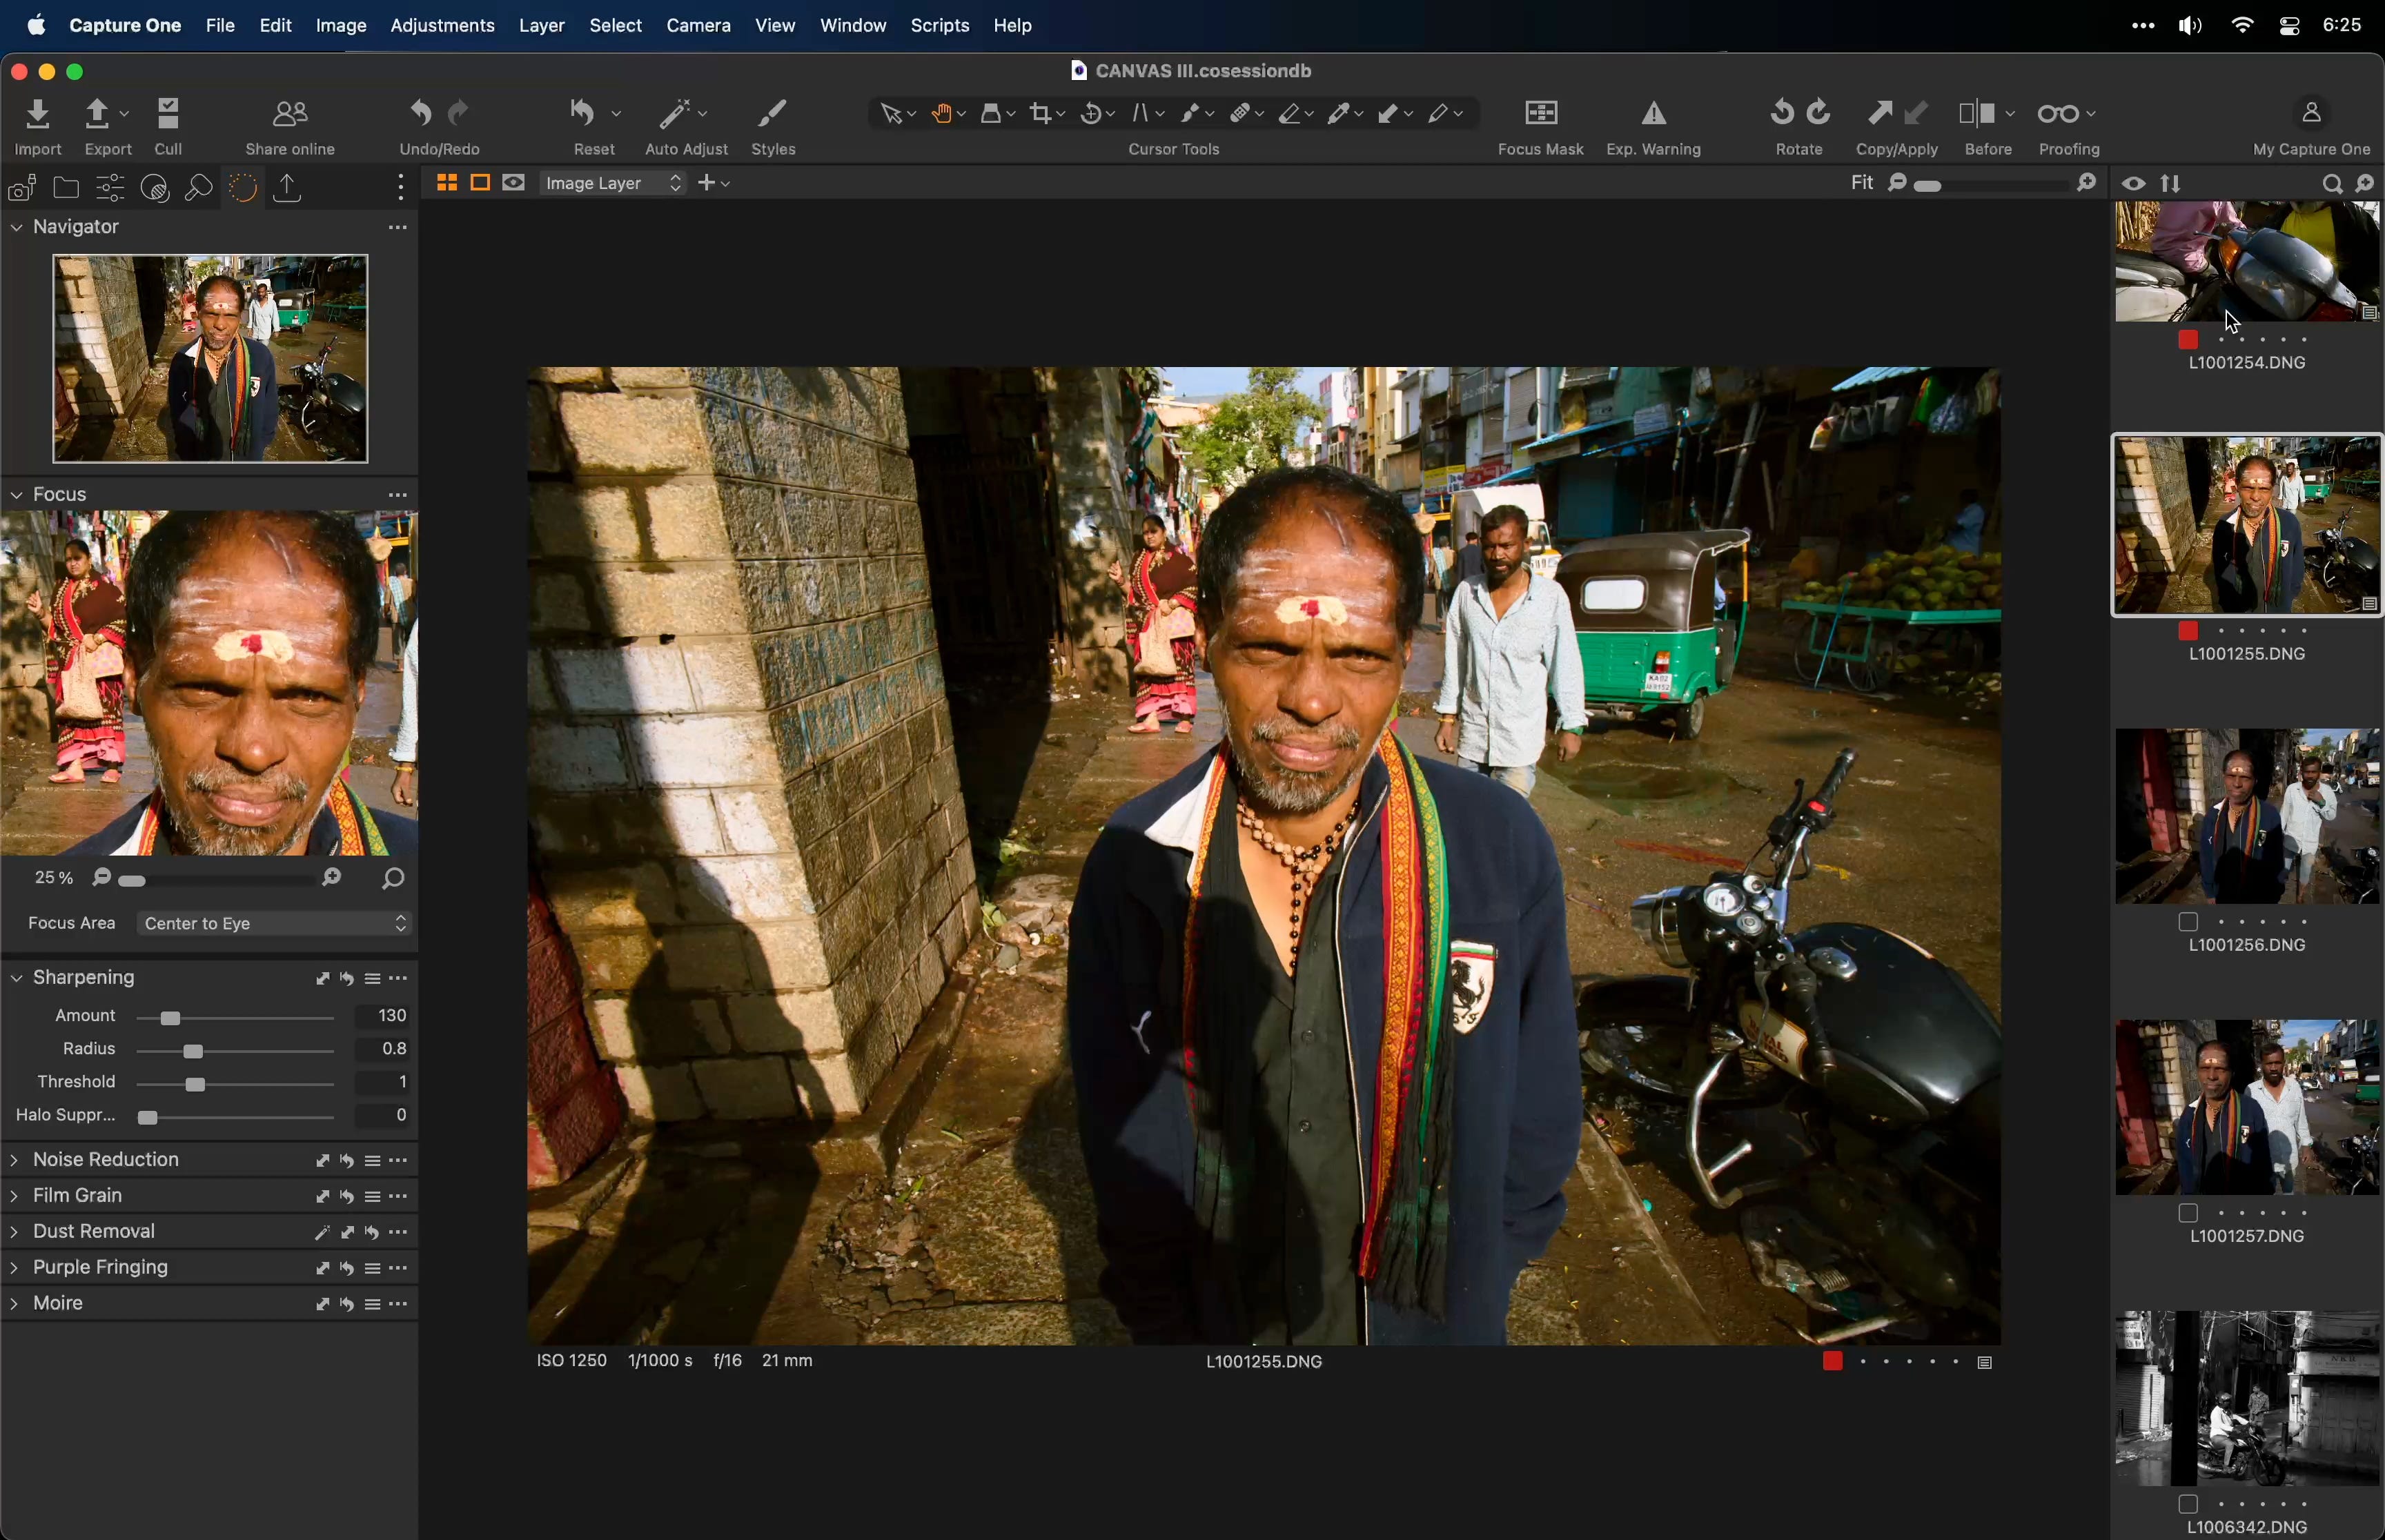
I’ll fire go to the Focus Tool with the new AI Snap to Eye function and skim through images. Unsalvageable images go to the Trash folder in the Session. Any photos that catch my attention will be tagged RED and this is easily done by hitting the minus key on your keyboard.
I’ll then sort the images by Colour Tag and move all my selections to the Selects folder within the Session. From here, I’ll give these tagged images a rating between 3 to 5 stars, which you can do by hitting the corresponding number on the keyboard. This is how I view the ratings:
3 is worth sharing online
4 is worth writing about
5 is worth printing
I’m not trying to overthink this process because the ratings are not gospel. Each night, this sorting takes about 10 minutes. The goal is to trust my instinct and keep it moving because there’s something much more important to get to and that’s the editing.
Editing the Favourites
Alright, when it comes to the editing process, I start by figuring out an interesting crop and then apply my style template. This is a set of empty layers that separate the different aspects of the edit, which in turn allows me to adjust the strength independently if needed.

The base Image Layer will house White Balance, Grain, Vignette, and any Black & White conversions. Most of the work on this layer is done toward the end. I’ll use the Highlights and Levels layer to dial in the exposure and luminance of the image. The simple question you wanna ask yourself here is where are the highlights and shadows gonna land? I’ll use the Exposure, Dynamic Range, and Level tools to answer this question.
Next, I’ll flip to the Clarity and Sharpness tools to reign in the crispiness of the subject. The priority here is to find a healthy amount of overall sharpness that doesn’t distract from the image. At times, I’ll even move back to the base Image Layer to introduce some grain to take away the bite that some cameras and lenses may have.
Now to the trickier part. I’ll move to the Colour and Curve layer to craft a look for the image. I’ll take inspiration from the environment, from the subject, and even movies to start crafting an overall Style for the image in front of me. I’ll start with the Basic Colour Editor to lock in a healthy amount of Saturation. Then I’ll move to the Curve tool to add or remove contrast in the luminance and colour channels. Once this comes together, I’ll move to the Advanced Colour Editor to really define this Style.
The goal is to emphasize complementary and analogous colours. The first few nights, this process can take much longer because I’m really looking to build a look that can be used across the trip. With enough time and patience, I’ll be able to land in a place where I have a specific Style that lends itself to a the place I’ll be spending most of my time. I’ll then save all this work into a new Style that I can quickly use as a starting point for new photos. But we’re just scratching the surface here…

With the 4 and 5 star images in my Session, I’ll wanna get even more granular with my edits and the latest version of Capture One Pro makes that even easier. I can now use AI to create advanced selections of my subject and backgrounds. These layers have a mask applied where any changes you make will only apply to that selection. This makes its incredibly easy to grab a subject, adjust luminance or colour, and not have those changes apply to your background.
Again, this entire process is crazy fast, scary accurate, and wildly powerful. What takes this even further is that you can create an AI Style Layers to have specific looks apply to only Subjects and Backgrounds in the future! I’ve been taking some time over the last few weeks to really integrate this into my work and it’s truly good enough to become a staple in my process.
Once, I’ve mapped my granular edits, I’m done! I’ll change the colour tag of the image to Green with the plus symbol, move it to the Output folder in the Session, and then export a hi-res JPEG for sharing.
I think it’s important to share your work while you’re abroad to create a flow of creativity, where you’ve built this process to keep you moving and act as a little bit of diary of the trip. I’m known for being reserved with the work I put out when I’m at home. But when I’m travelling, I want to share a healthy amount of photos to keep my creative process in motion.
New Contest for November!
Each month, I run a contest for the Church & Street community and try to feature something that I think people will appreciate.
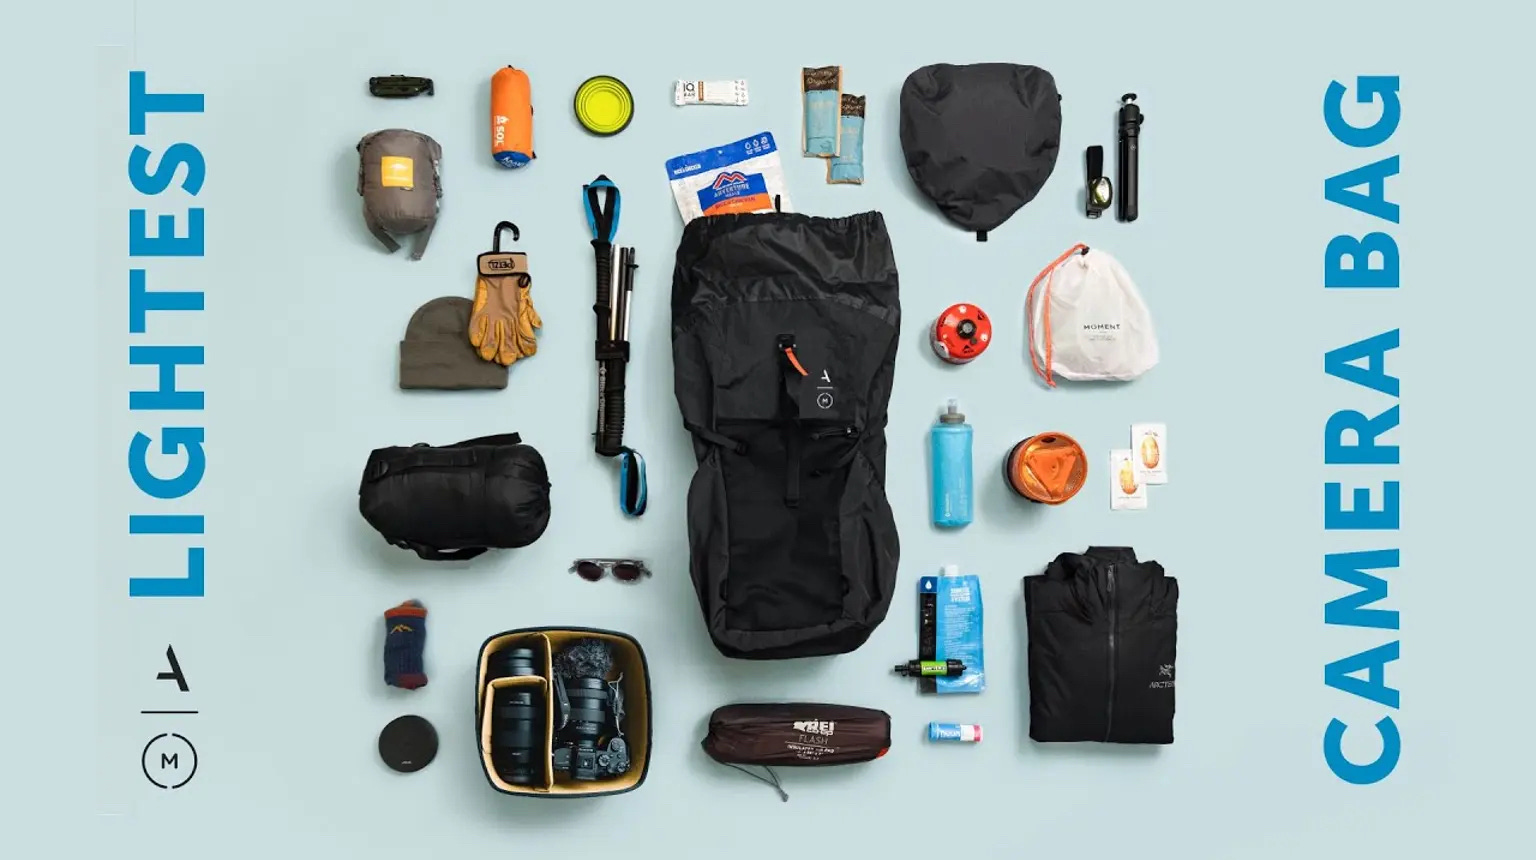
For November, I’ll be giving away the Moment Strohl Moutain Light Backpack. For those that find themselves outdoors a lot and need the ability to pack a wide variety of essentials, this is a backpack to keep on your shortlist.
How am I picking the winner? All you have to do is be a member of this community and leave a comment on this post. As with every contest, I’ll be randomly picking one person, confirming they meet the requirements and then contacting them directly before announcing the winner publicly.
Once again, this contest is void where prohibited by law. Good luck!
My thanks to the team at Moment! Not only for this contest but for being the longest supporter of my work online. They’re a lean team of passionate creators that truly believe in supporting other creators on their journey. Whether it’s a new camera, lens, workshop, or just some great articles, visit ShopMoment.com today.
What’s Next?
There’s a romance to travelling the world in search of your next great image but also a massive disconnect between what people think you’re doing and what’s actually happening. The reality is you spend a sh*t ton of time trudging between airports, sleeping poorly regardless of the stars on the hotel, eating mostly for sustenance than substance, while balancing this existential concern on whether all of this even matters.
I say all this as a reminder that great work demands an even greater sacrifice. If you truly love this thing called photography, push yourself outside of your comfort zone and practice like everything’s counting on it. Get in the trenches, sweat the details—and whether it’s by an inch or a mile—move the needle every day.
Ten years ago I shared the above post. If I knew then what my life would be like right now, motherf*cker… I would’ve been working even harder. This is all to say that the answer for most of your questions is probably hard work, meditation, and practice.
Anyway, that’s enough of my “call to arms” to the creatives out there. I’ve spent a lot of time locking in this process for my photography overseas and I hope it can bring some value to your journey as well. See ya next time!
GB
Thanks for reading Church & Street. Be sure to leave any thoughts or questions in the comments and if you really enjoyed this post, share it with your circle ✊🏾
Love the website and written content on top of a video-only world. Cheers from a fellow canadian
Great post Gajan! I really want to get into Capture One after using LRC for so long. It seems daunting after getting all the short cuts and processes down.